Today’s post follows directly from the last 2 day’s posts, which re-examined some old Process Movie Tutorial examples. The movie processing examples detail how to incorporate the concept of overdrawing on a previous canvas output frame into building a movie processing effect in a paint action sequence (PASeq).
One important consideration to take into account when building a movie processing PASeq that uses overdrawing is specifying the setup for the initial state of the canvas for the first frame of the animation. In old versions of Studio Artist before the advent of Mute keyframes, you needed to keep track of this manually. But by working with Mute keyframes you can now build your initial canvas state setup directly into your movie processing PASeq.
In the last 2 posts presented here, we took a look at 2 different examples that contrasted always erasing the canvas to a solid color before painting, vs overdrawing on a previous output frame. We also extended the concept of overdrawing to overdrawing on a modified version of the previous output frame.
Remember, the reason why we are so interested in working with overdrawing is because it does an excellent job of introducing temporal continuity into a paint animation, and that temporal continuity is the key to reducing or eliminating flicker in a paint animation. We discussed this topic in great detail 2 days ago.
The examples we covered in the previous 2 posts were from old tutorials that were originally put together in a previous version of Studio Artist that did not support Mute keyframes. So we mentioned that it was important to remember to manually setup the canvas to some kind of initial state (erased to white in these particular examples) prior to running the Action menu command to render out the resulting paint animations when the PASeq’s being used were built to incorporate overdrawing.
We used the Action : Process with Paint Action Sequence : Source to Movie menu command to render out our paint animations.
However, setting up the initial state of the canvas manually prior to rendering out a paint animation in general is not a good idea, because it’s easy to forget to do it. A much better solution is to build something into your PASeq that sets up the initial canvas starting conditions when the animation is run for the first frame’s processing only.
Remember, you want these particular action step’s processing to only occur on the first frame and not subsequent frames. Otherwise you would not be overdrawing on previous output frames, you’d be re-initializing the state of the canvas for every processed frame, which as we have discussed here leads to visual perception of flicker in the resulting paint animation output.
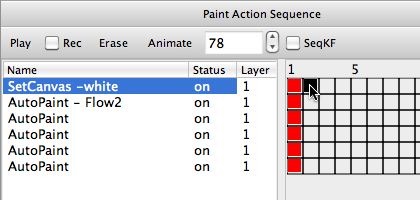
The key feature to building initial frame 1 state setup into a PASeq is to utilize Mute keyframes. Any action step that has a Mute keyframe associated with a specific frame time in the PASeq timeline is muted (turned off) beginning at the frame time the Mute keyframe is recorded at. Mute keyframes are black as opposed to the normal red keyframe color. To record a Mute keyframe, you hold down the option and m keys and then click the keyframe cell you want the Mute keyframe to be recorded at.
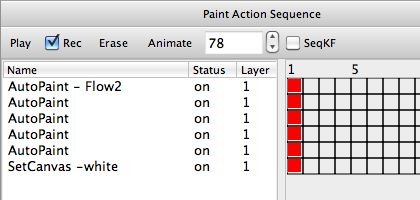
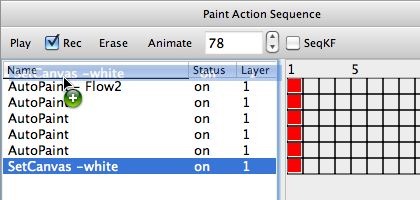
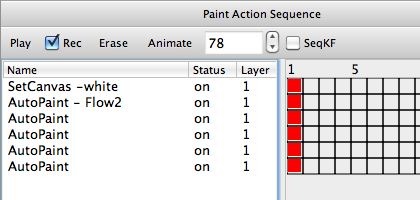
So to built setting up the initial canvas starting state for a paint animation that uses overdrawing, you add the necessary action steps to do that to your PASeq. You want to put these initialization action steps at the very beginning of the PASeq list. And you then want to record Mute keyframes for all of the initialization action steps at keyframe frame time 2. That way the initialization action steps only run for frame 1 of the paint animation, and are then muted or turned off for the PASeq processing of the remaining frames of the generated animation.
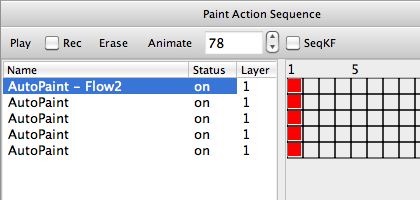
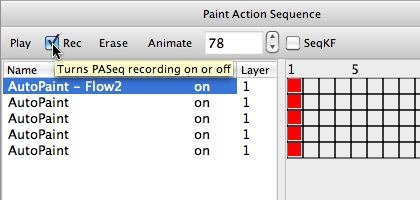
The image gallery below shows the individual steps required to build in setup conditions for one of the overdrawing PASeq presets we used in yesterday’s post.



1 Comment