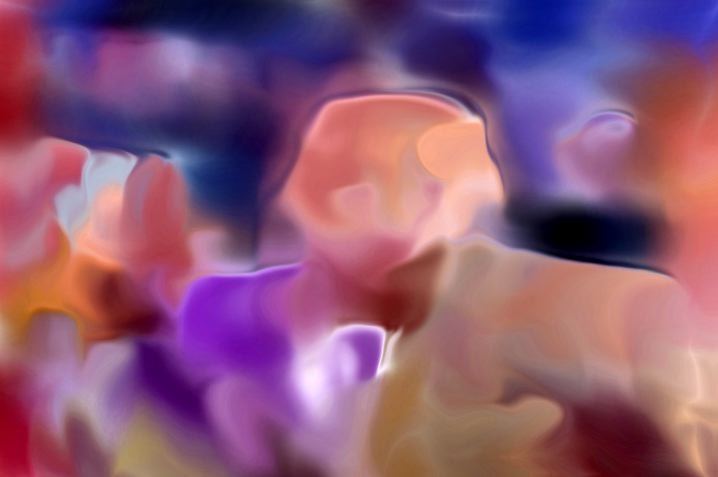
The following imageshows a soft abstraction effect I was recently playing around with. We used the output of this effect in yesterday’s post on tiling as our initial starting canvas. Today’s post will detail how I created this particular soft abstraction effect. It’s created with a combination of the paint synthesizer and some interactive warping.
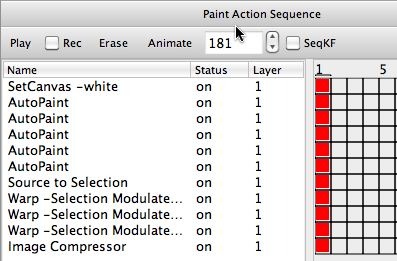
The paint action sequence (PASeq) below shows the individual steps used to create the soft abstraction effect. I start off by erasing the canvas to white.
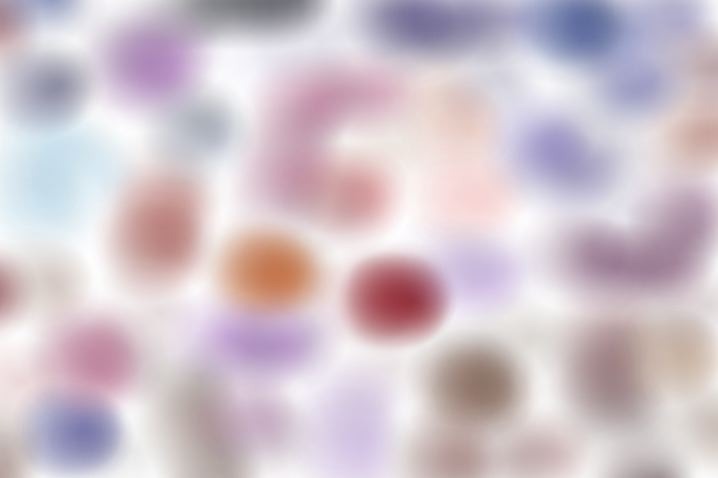
All of the individual AutoPaint steps are using the same paint preset. I started by editing a soft airbrush preset recently posted on the Studio Artist User Forum. The first image in the gallery below shows the canvas output after the first AutoPaint action step.
The output from a single pass of the soft airbrush paint synthesizer preset only partially covers the entire canvas and is rather light, so I ran the same preset 4 more times to fill in the canvas better. The second image in the gallery shows what the canvas looked like after running the remaining 4 identical AutoPaint action steps.
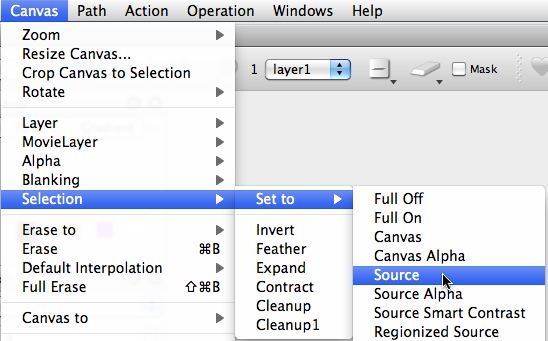
I then used the Canvas : Selection : Set to : Source menu command to set the current region selection buffer to the source image. I did this because I want to modulate an interactive warp with the source image luminance in the next set of action steps.
I then switched to interactive warp operation mode. I used the top popup in the generic Editor to choose the Selection Modulate Rotate warp option as shown below.
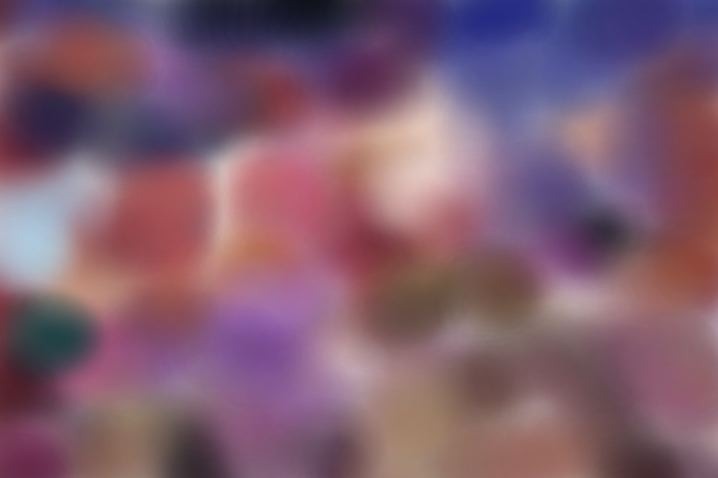
I wanted the warp to be very smooth without any sharp edges or super defined source features. So I set the Smoothing parameter to On1. Doing so smooths the warp, making it softer. I then clicked the mouse into the canvas and pulled the mouse to the right to define an interactive warp. The last image in the gallery above shows off the canvas after the first warp action step.
I then changed the mouse pull direction of the selection modulated interactive warp for 2 more action steps. The 3 selection modulated warp operations worked to pull the abstracted source features out of the soft painted color background. Note that the warp operations work to pull abstracted features out of the initially flat looking soft painted canvas. This works because the selection is modulating the warp rotation at different spatial locations in the canvas, and the selection is set to be the source luminance image.
I then used the Image Compressor ip op to boost the contrast of the final image a little.
Try playing around with this kind of interactive warp with the Smoothing control off and On to get a feel for the differences smoothing the warp can make. On and On1 smoothing are just 2 different kinds of smoothing algorithms, so they lead to different looking warps depending on which one you choose. With the smoothing off you will get much sharper source features when you do the warp.



1 Comment