Introduction to the Studio Artist Vectorizer Editor
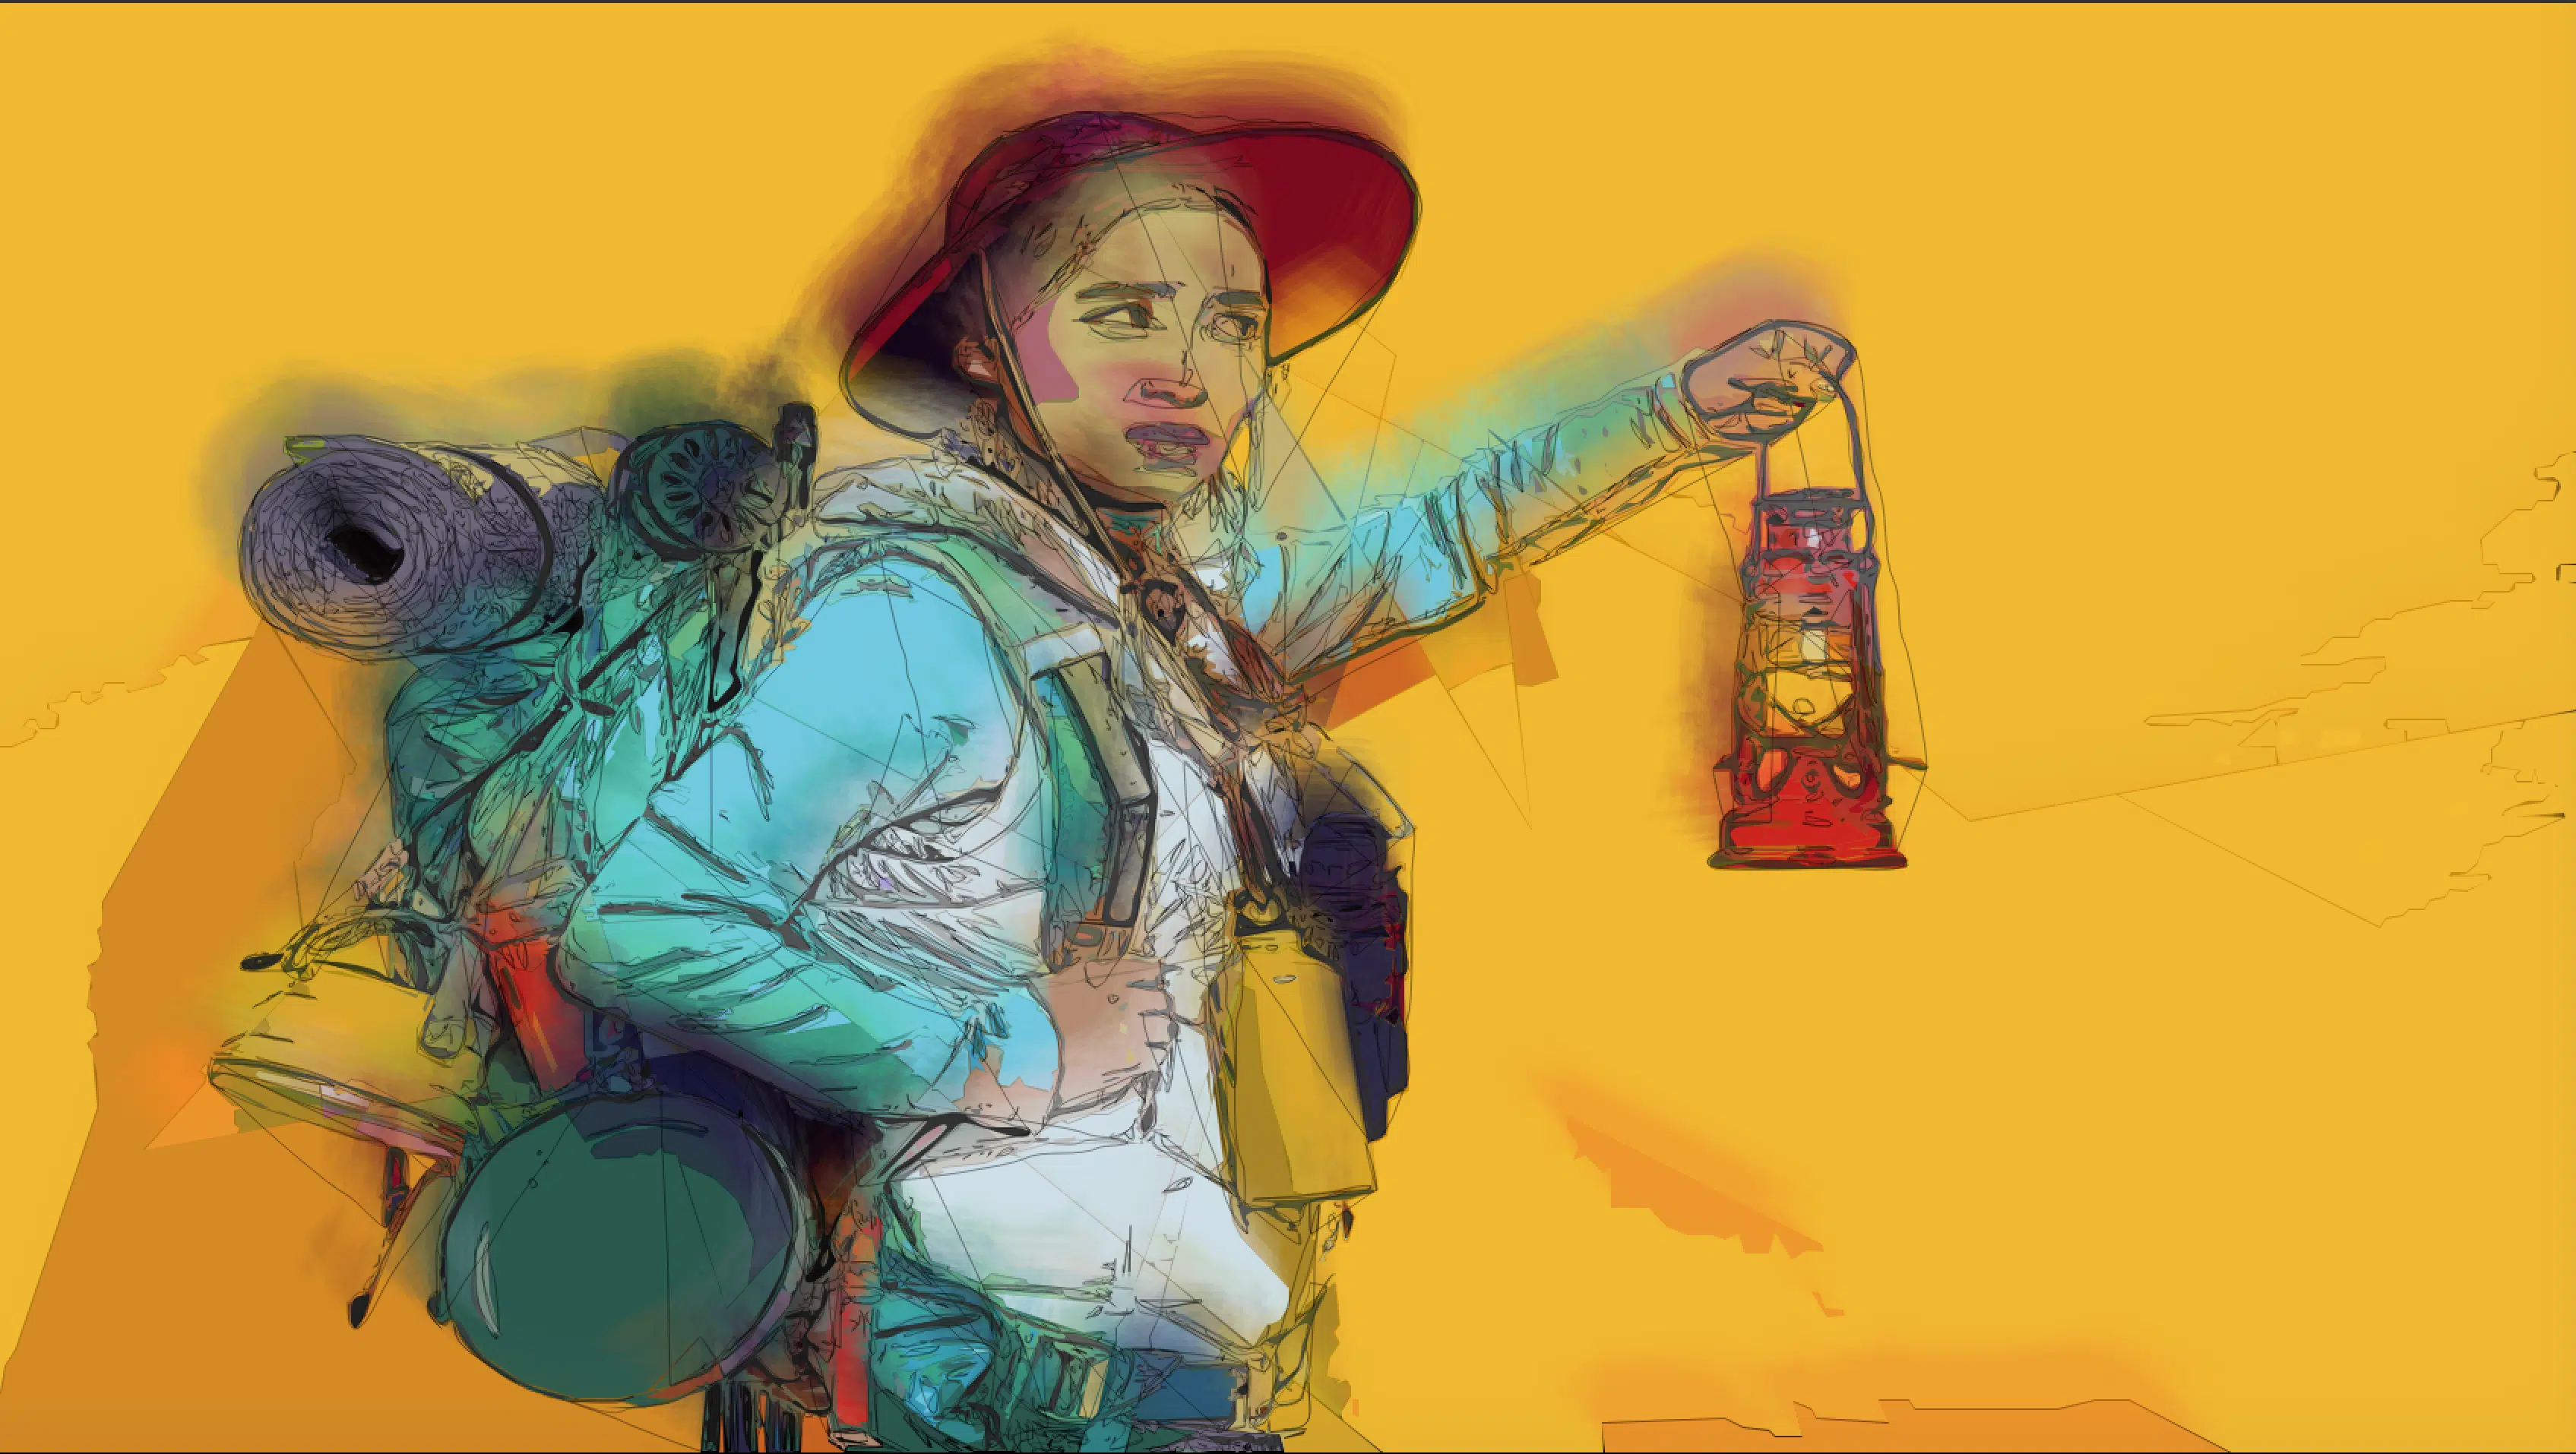
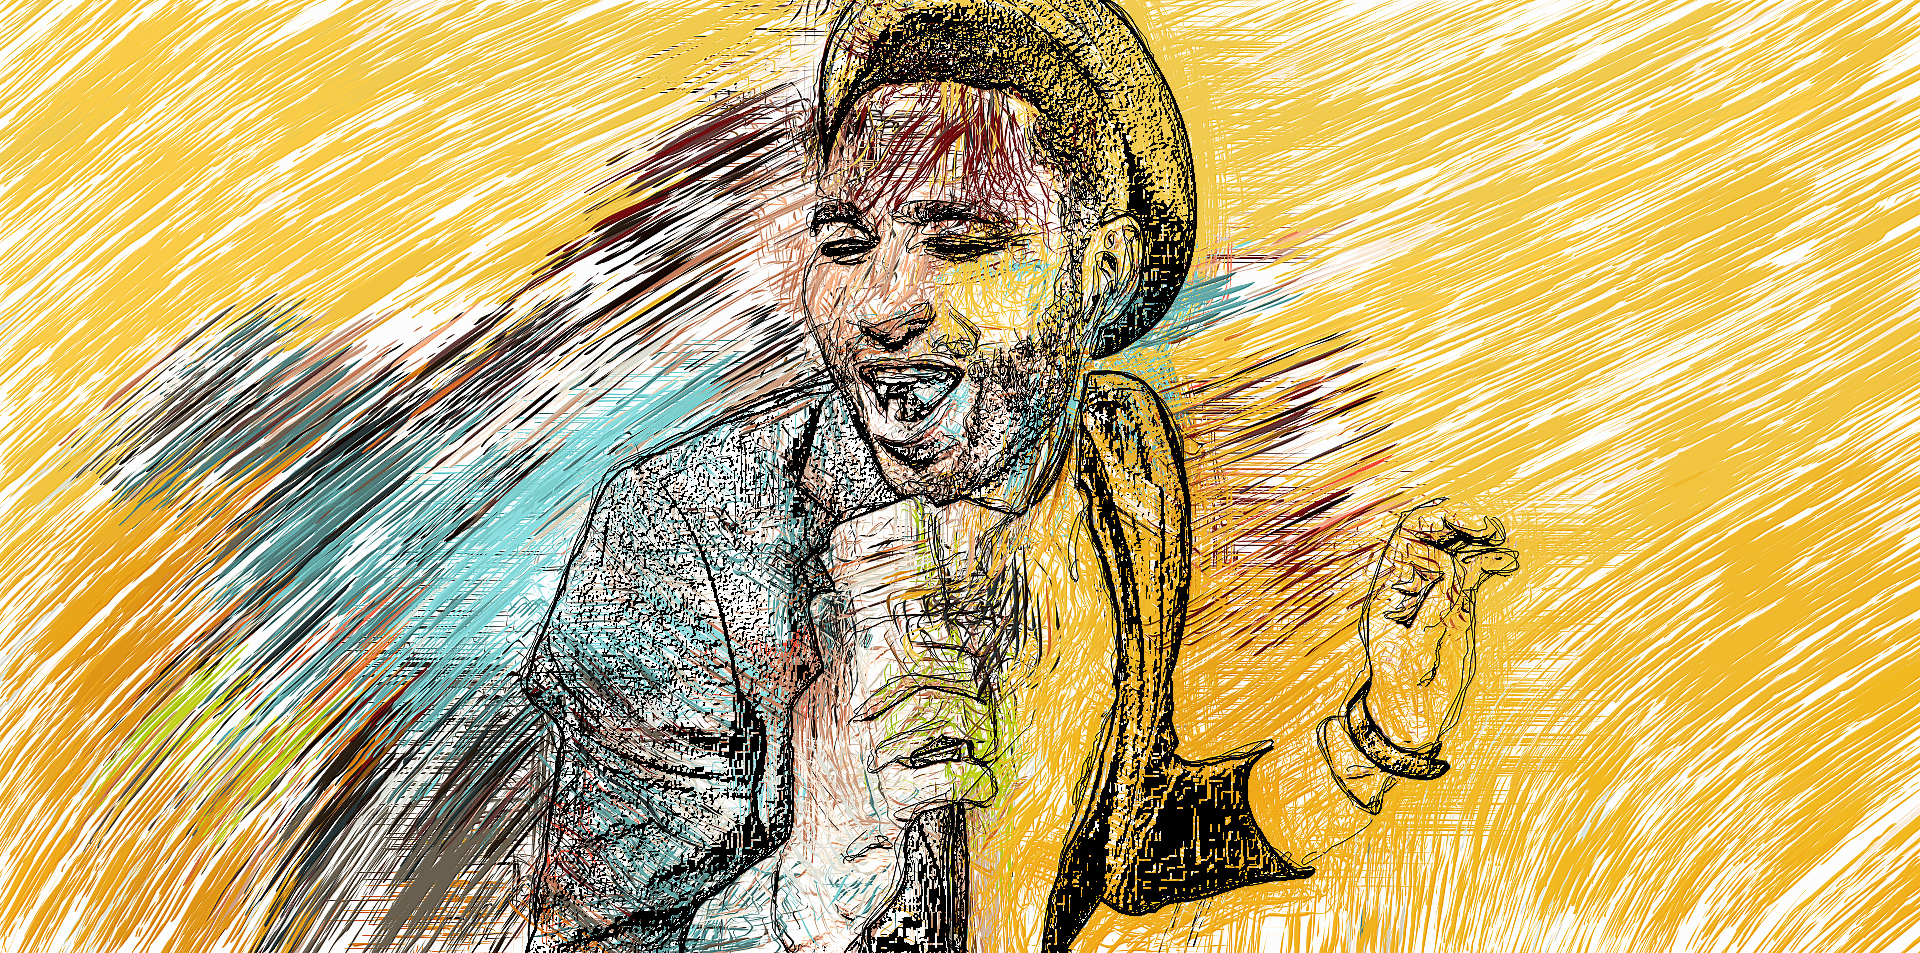
The vectorizer converts images or video into resolution independent stylized Vector Art that you output as .eps or .svg. This video will show you how to edit Vectorizer presets.
This Post will show you how to:
Access the Vectorizer Presets
How to Mutate the Presets to make new presets
How to Edit and Save a Vectorizer Presets
An Explanation of each of the Editor Panels
How to output SVG or EPS from the Vectorizer
Accessing Vectorizer Presets and Mutating Presets
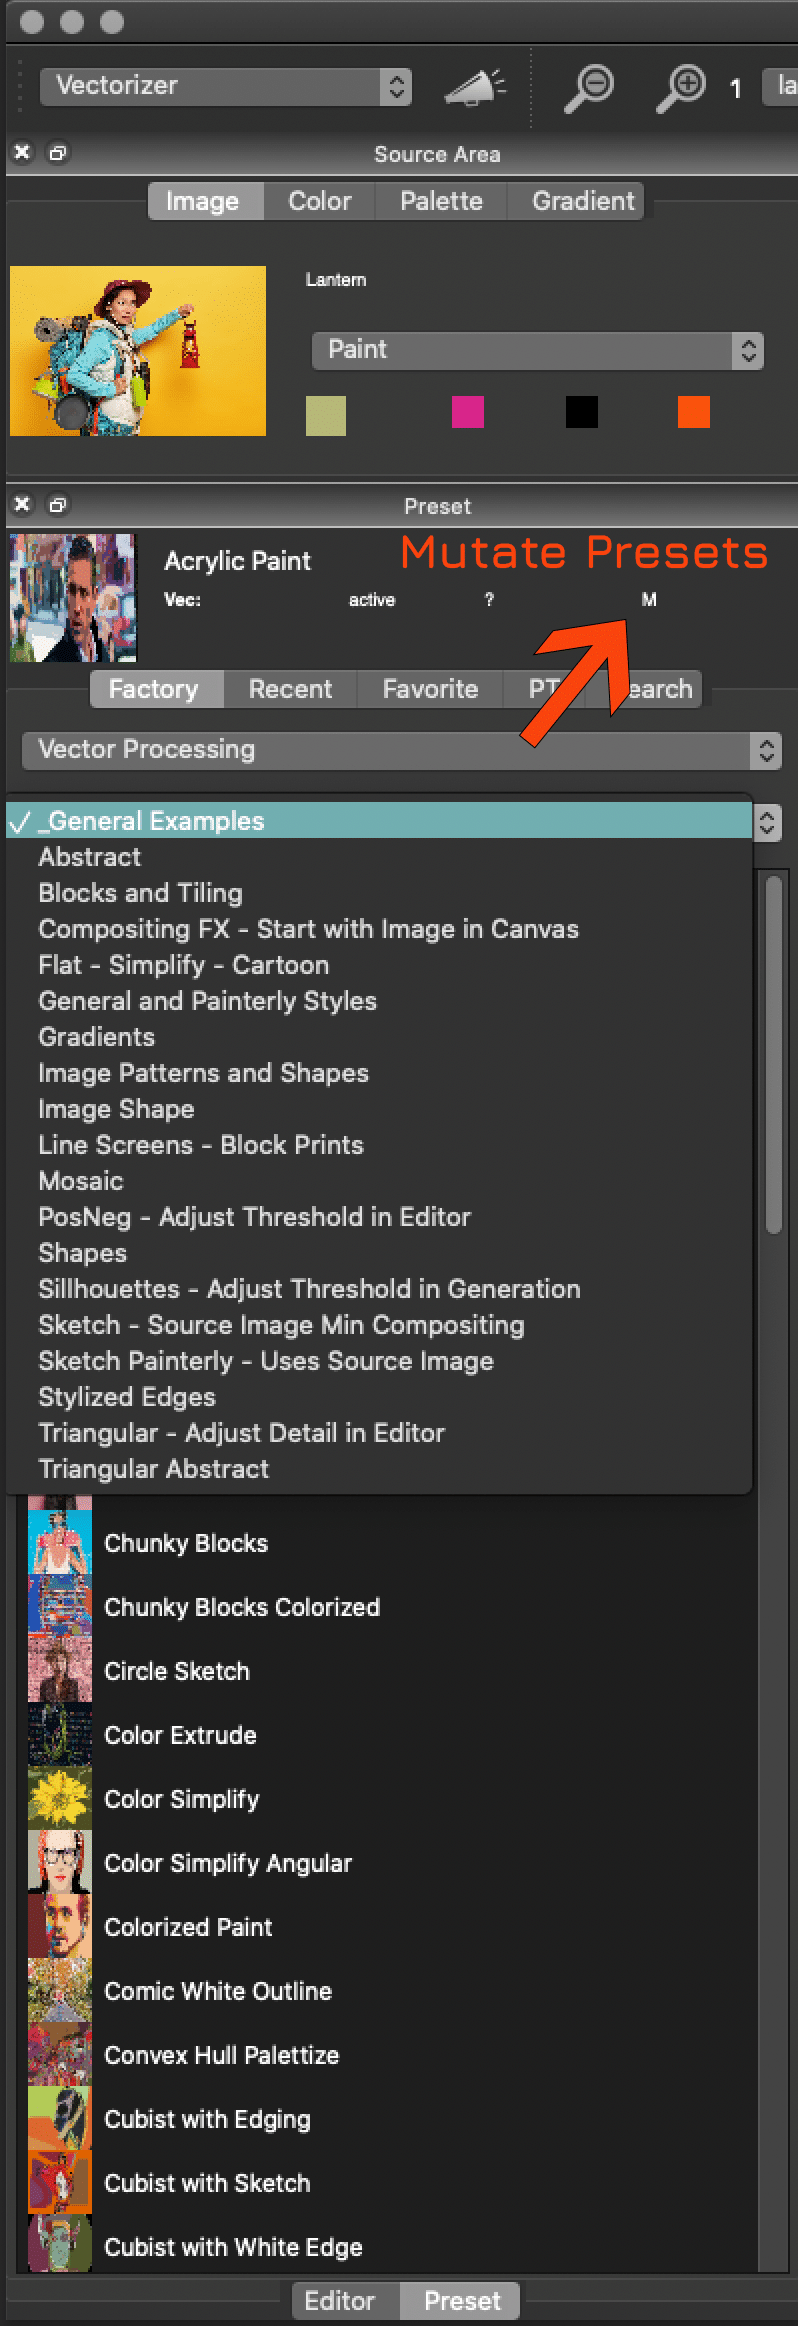
There are hundreds of Vectorizer Presets to get you started and you also create your own by either using the Mutate Button in the Preset Area or with Gallery Show.
To use the Mutate button click on the “M” and it will mutate two of the presets in the current category to create a new preset.
NOTE: There is a Mutate button in all Studio Artist Preset Windows.
After you click on the M button, then click on Action or command r (mac) cntrl r (win) to run the new preset. If you like it you can save it to your favorites.
How to use the Vectorizer Editor (see written explanation below)
There are 4 different Editor control panels for configuring vectorizer presets.
They are the Generation, Drawing Setup, Drawing Apply, and Composite control panels.
Generation Control Panel
The Generation control panel parameters determine the source, cleanup filtering, and technique options for the vectorization process.
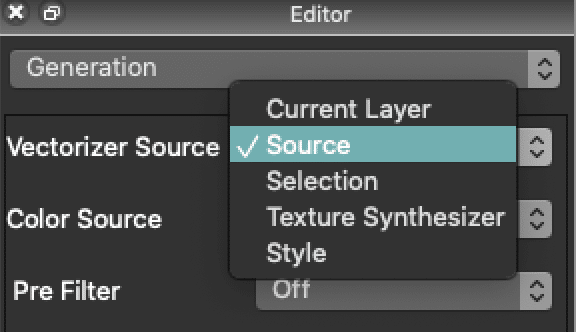
The source for the effect can be either the source image or the current canvas layer. The different filter, prune, and clean options help to eliminate the effects of noise and spurious small or thin regions. If you are vectorizing an image that already consists of flat color regions and you want to preserve the shape of those regions as closely as possible then you should turn off these filter and claenup settings.
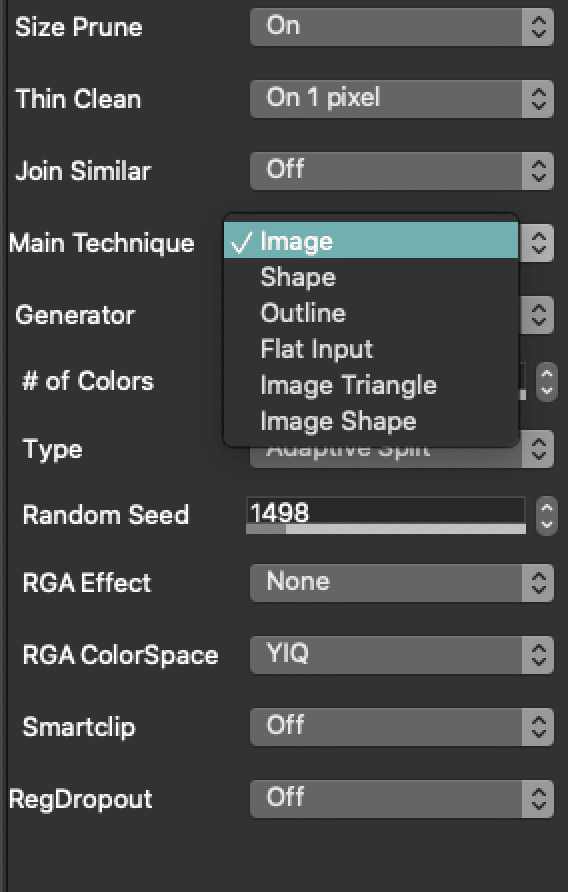
There are 6 main Techniques.
-
Image Mode
Image Mode Presets processes the source image mostly, although you can set it to process other things, like the current layer, or the style image.
It provides a number of different Generator options that all generate different stylistic effects that process the entire source image.
2. Shape Mode
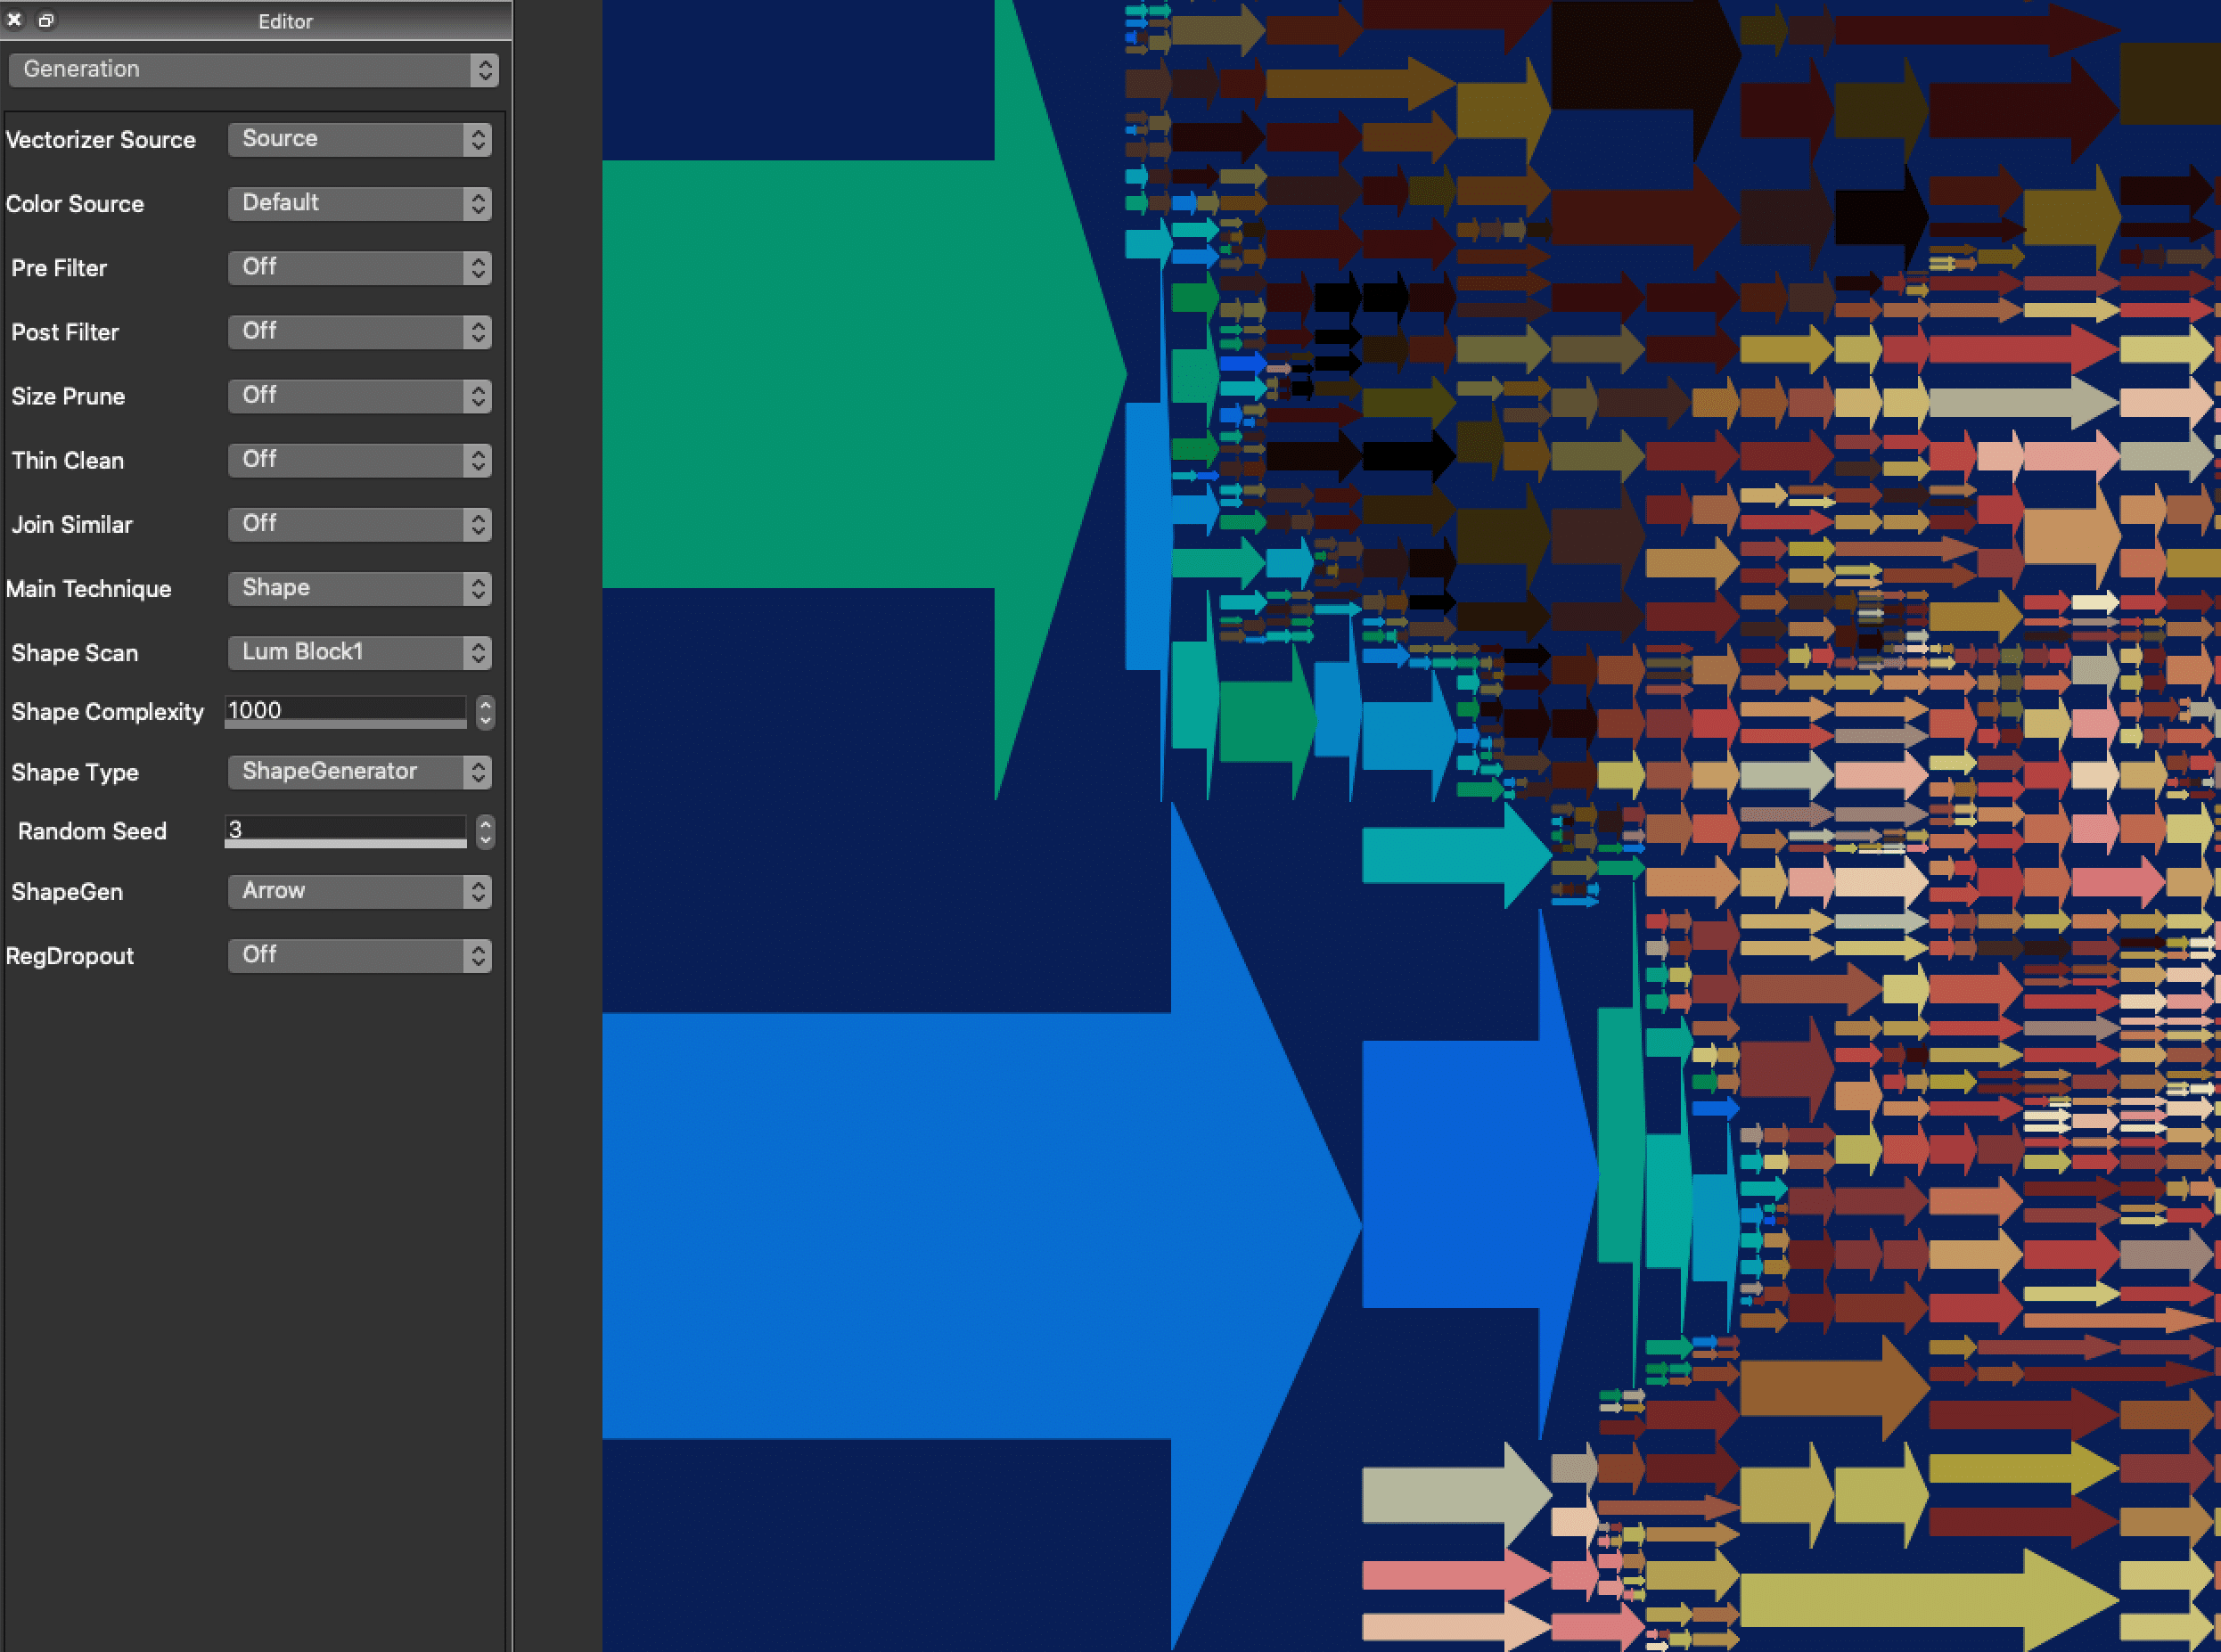
Shape generates vector effects based on specific geometric effects. There are two pull down menus, Shape Scan which is how the shapes will appear (ie grid, or in the example below a Luminance Block which follows the contour of the source image), and Shape Type where you can choose what shape you want to fill with. In the case of Shape Generator type there is a 3rd pull down menu where you can choose even more shapes to fill with.
3. Outline Mode
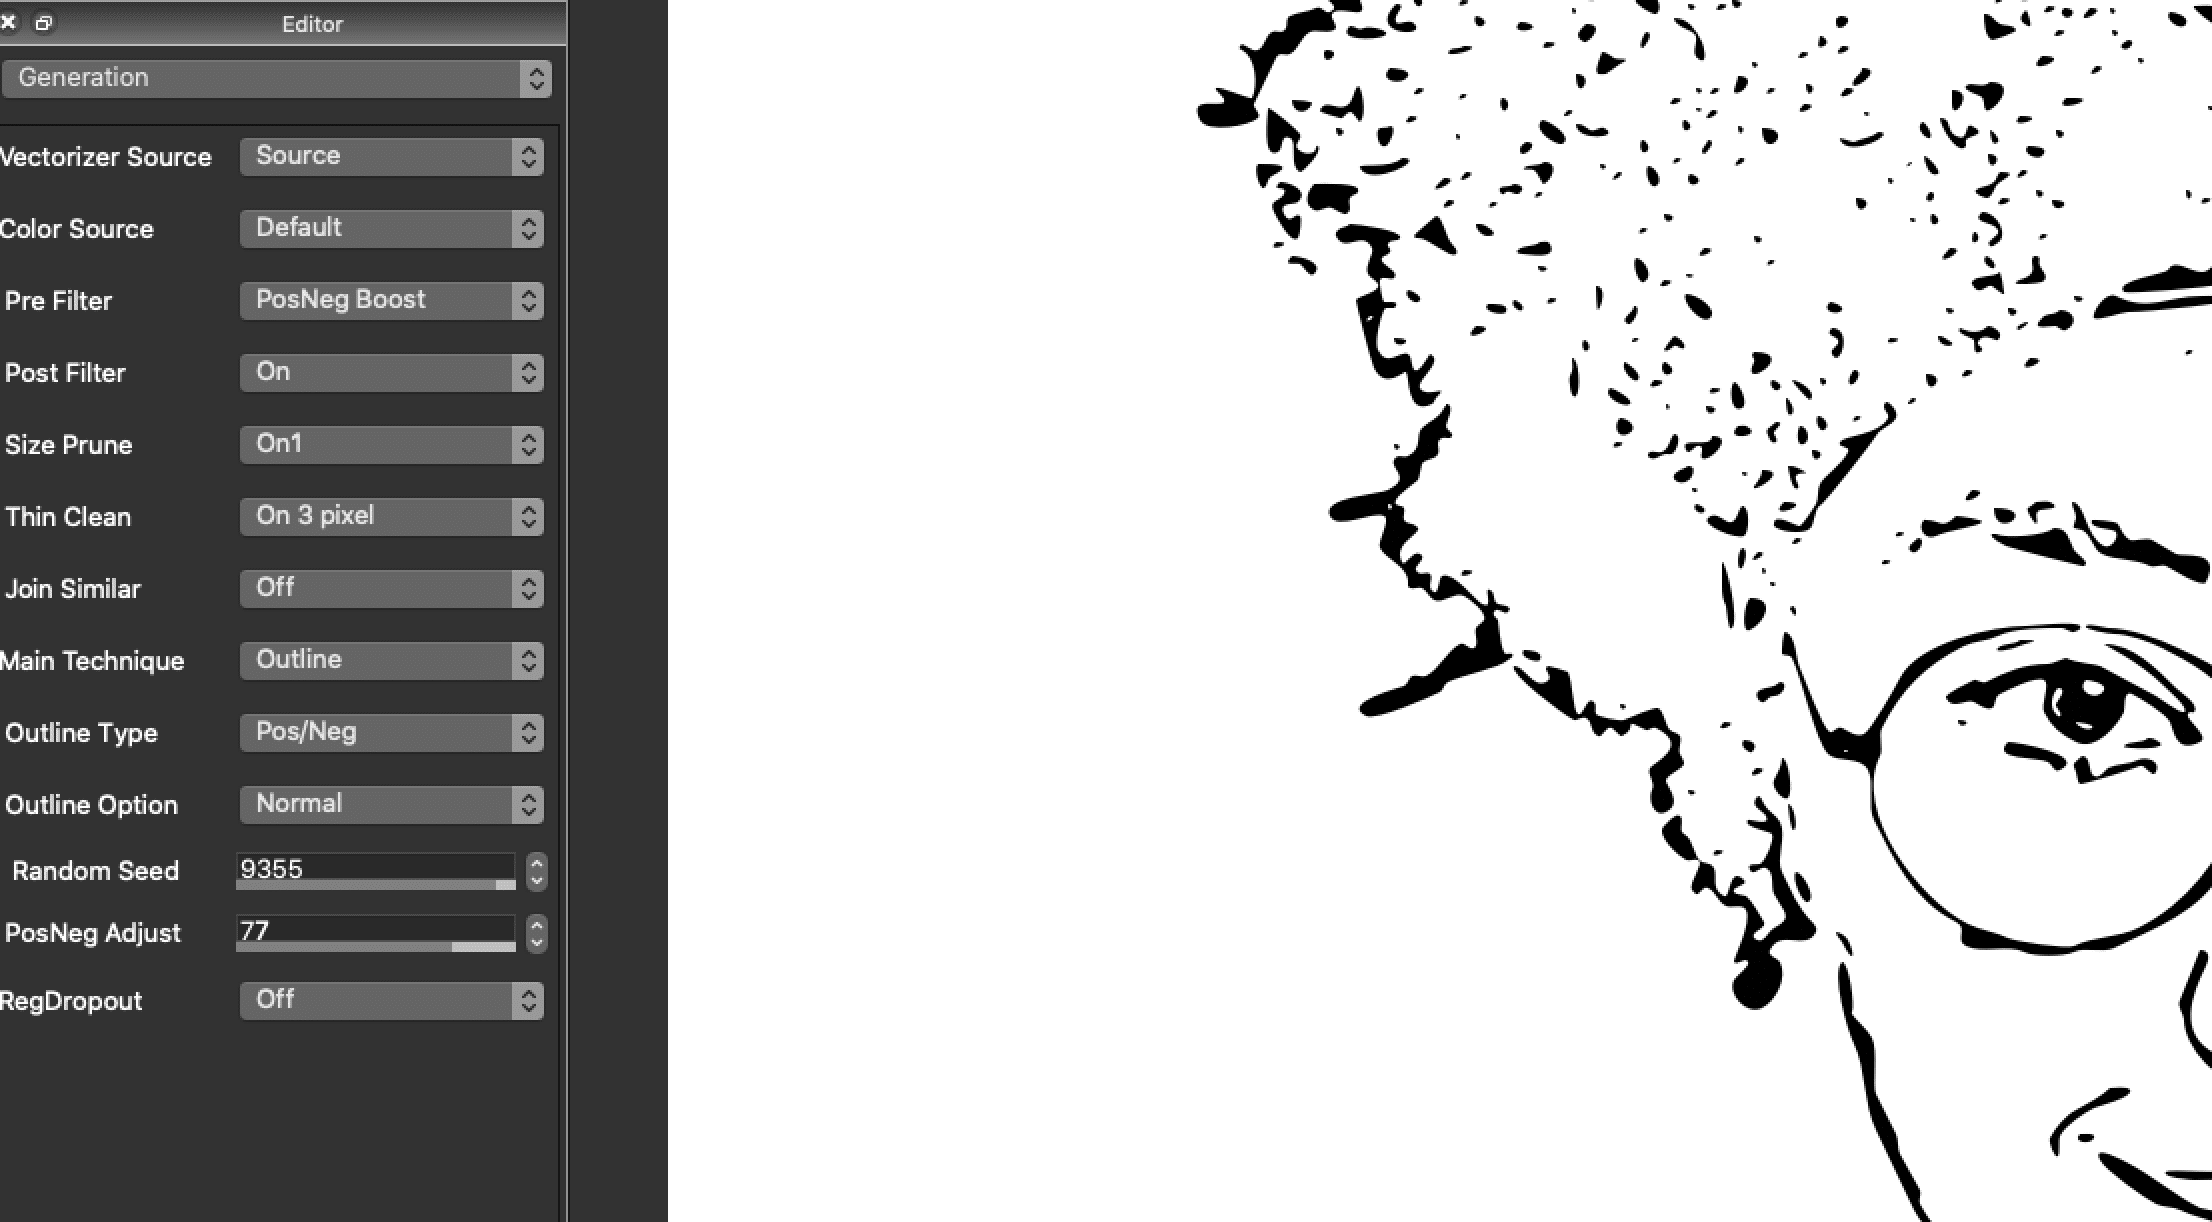
Outline generates various outline effects and will not process the entire image, only the areas associated with the desired outline effect. You can min composite these to edge enhance your images. So you could composite different outline effects on top of an existing canvas.
4. Flat Input Mode
Flat Input assumes the input is already composed of flat color regions and just converts those existing regions into eps vectors. Typically you would turn off the filtering and cleanup options if running the Flat Input technique, since these options would change the appearance of the flat regions you are converting into eps vectors. Although you can experiment with turning them on to see the various effects.
5. Image Triangle
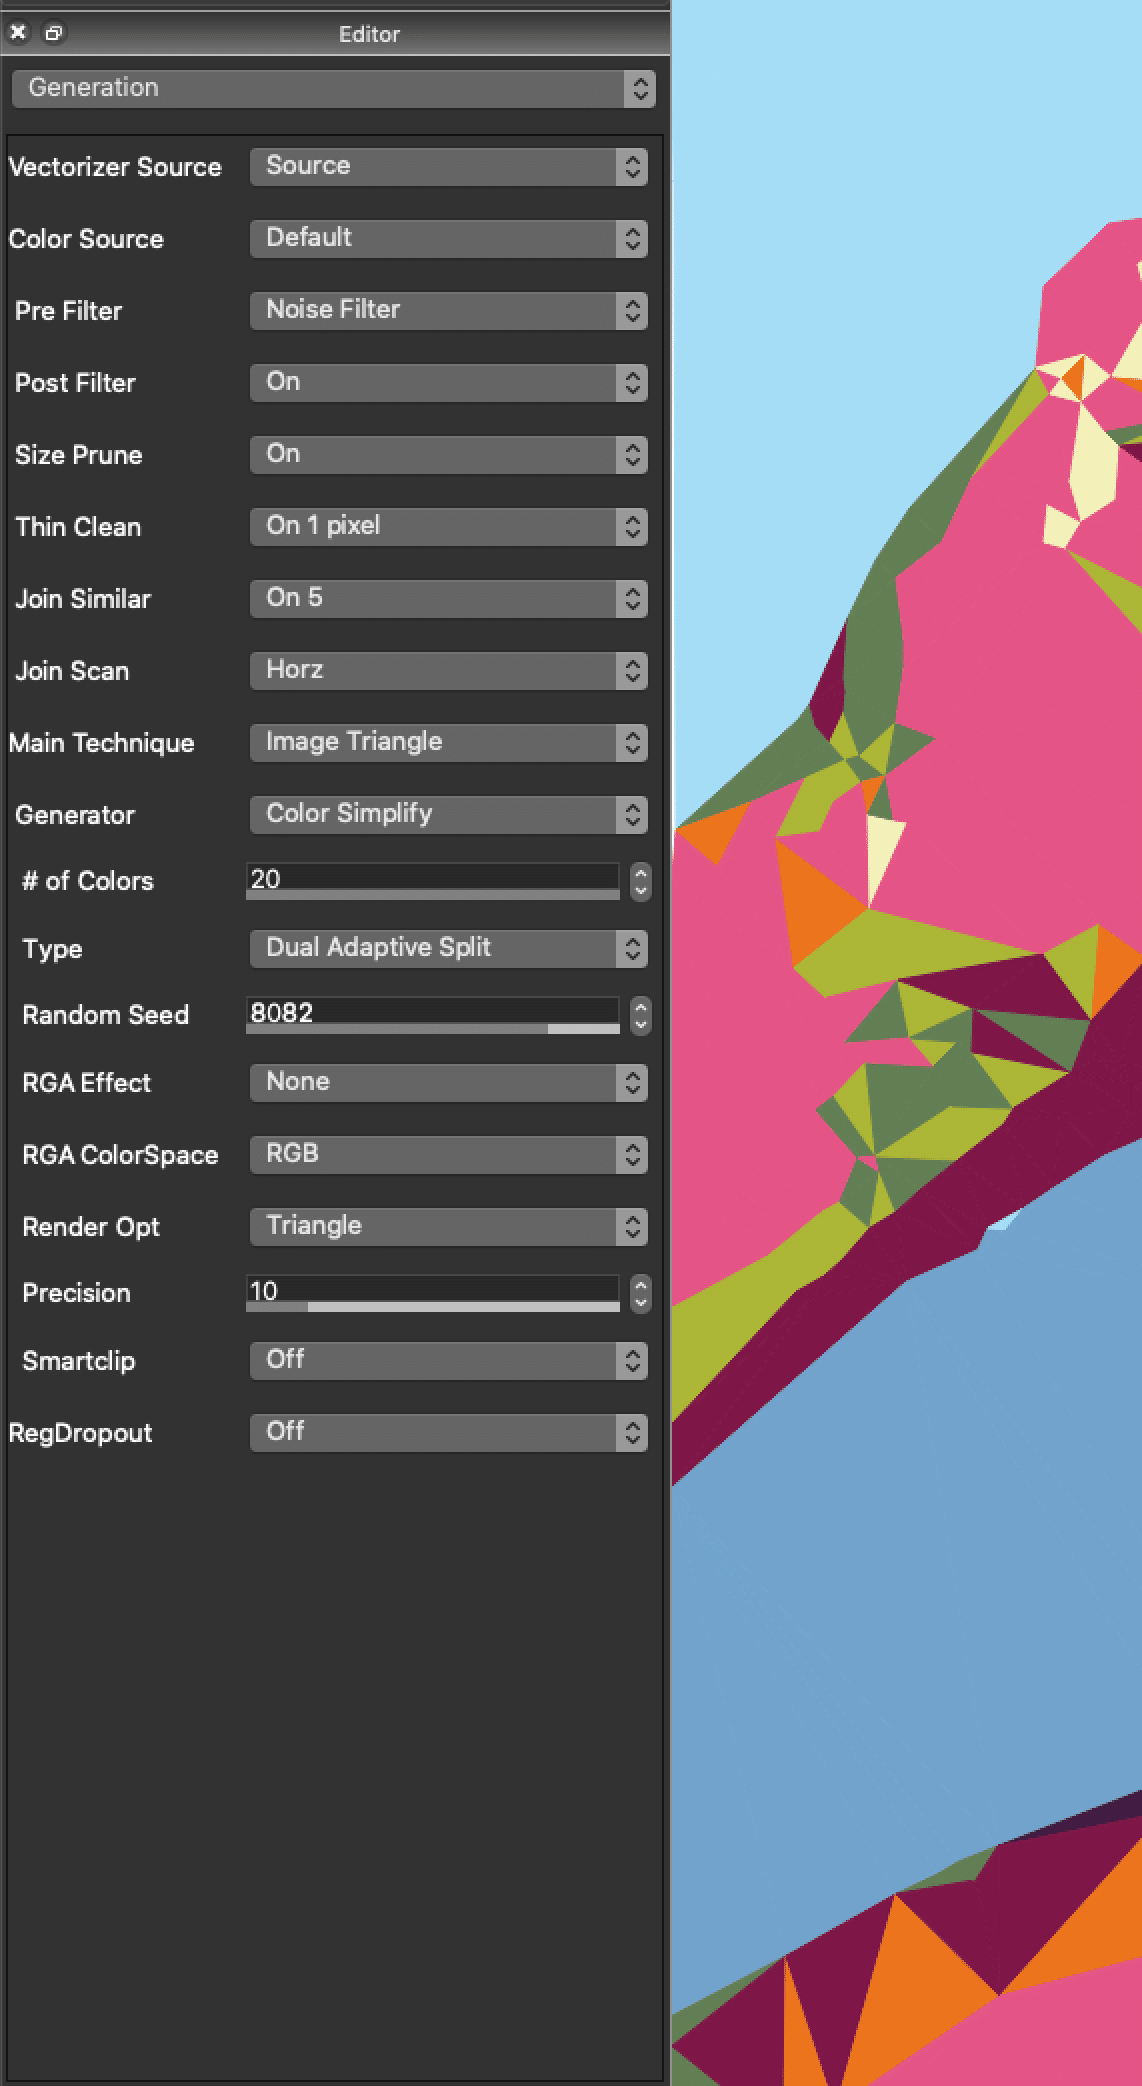
The Image Triangle mode re-renders the source with various style of triangles. They can have outlines or not. There are several types of Generators that you choose from. You can also change the render option from Triangle to get different shapes. There is a Preset Category for the Triangular Shapes that you explore. And you can always click on M button in the Preset Window to mutate two presets in the Triangular Category to make new presets.
6 Image Shape
The Image Shape Mode is basically a combination of the Shape and Image Modes and shares a combination of those modes settings.
There is a category of presets called Image Shape that you can check out in the Vectorizer Mode.
The Drawing Setup Mode
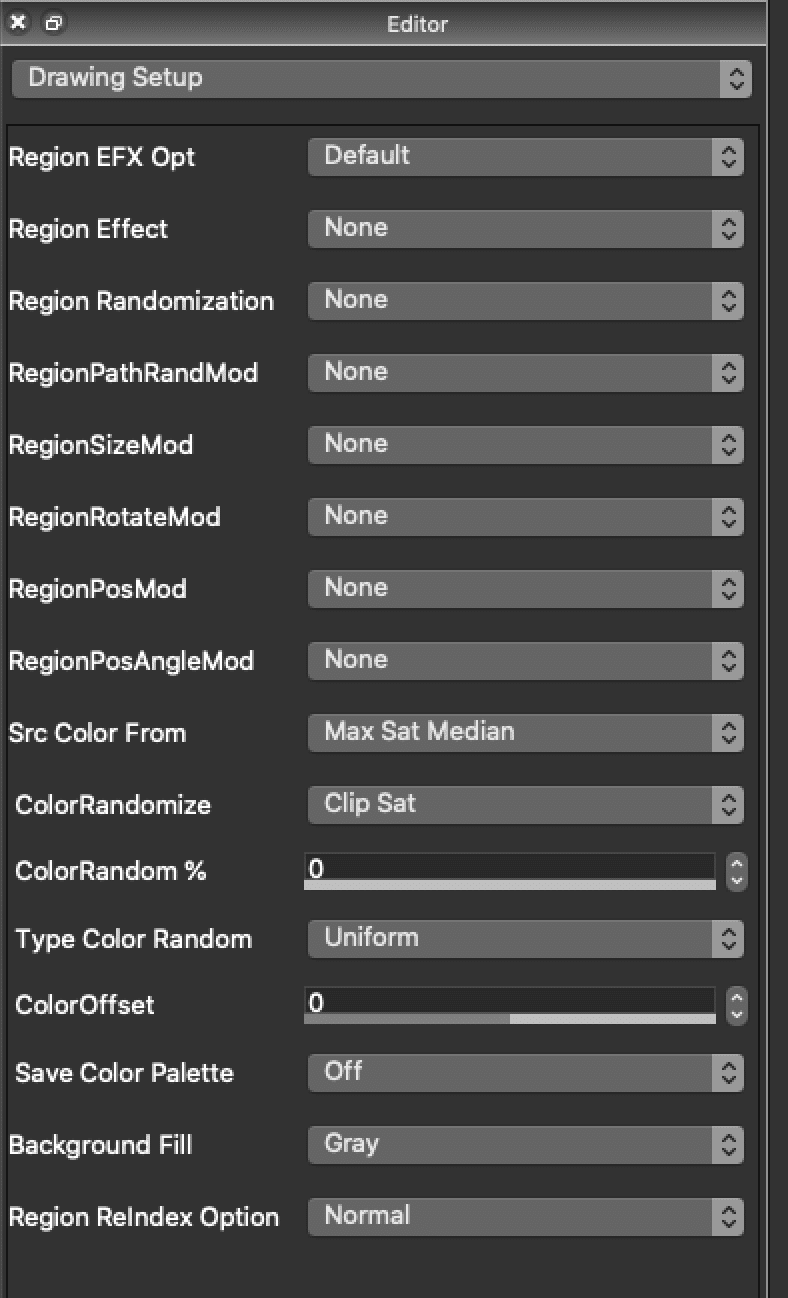
The drawing setup mode controls Region Effects and Randomization. It also is where you can choose color options and color randomizations as well at the background.
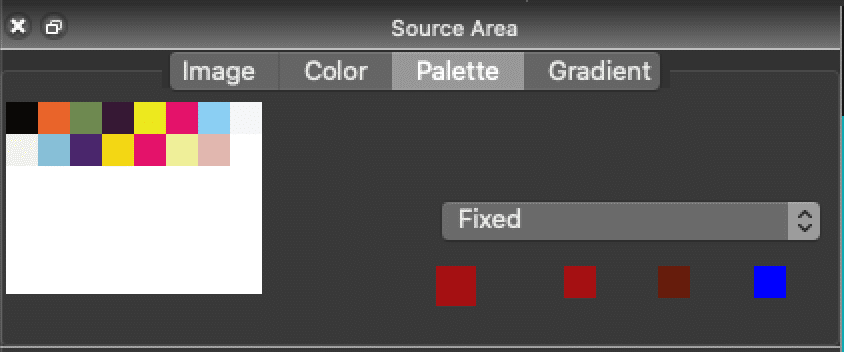
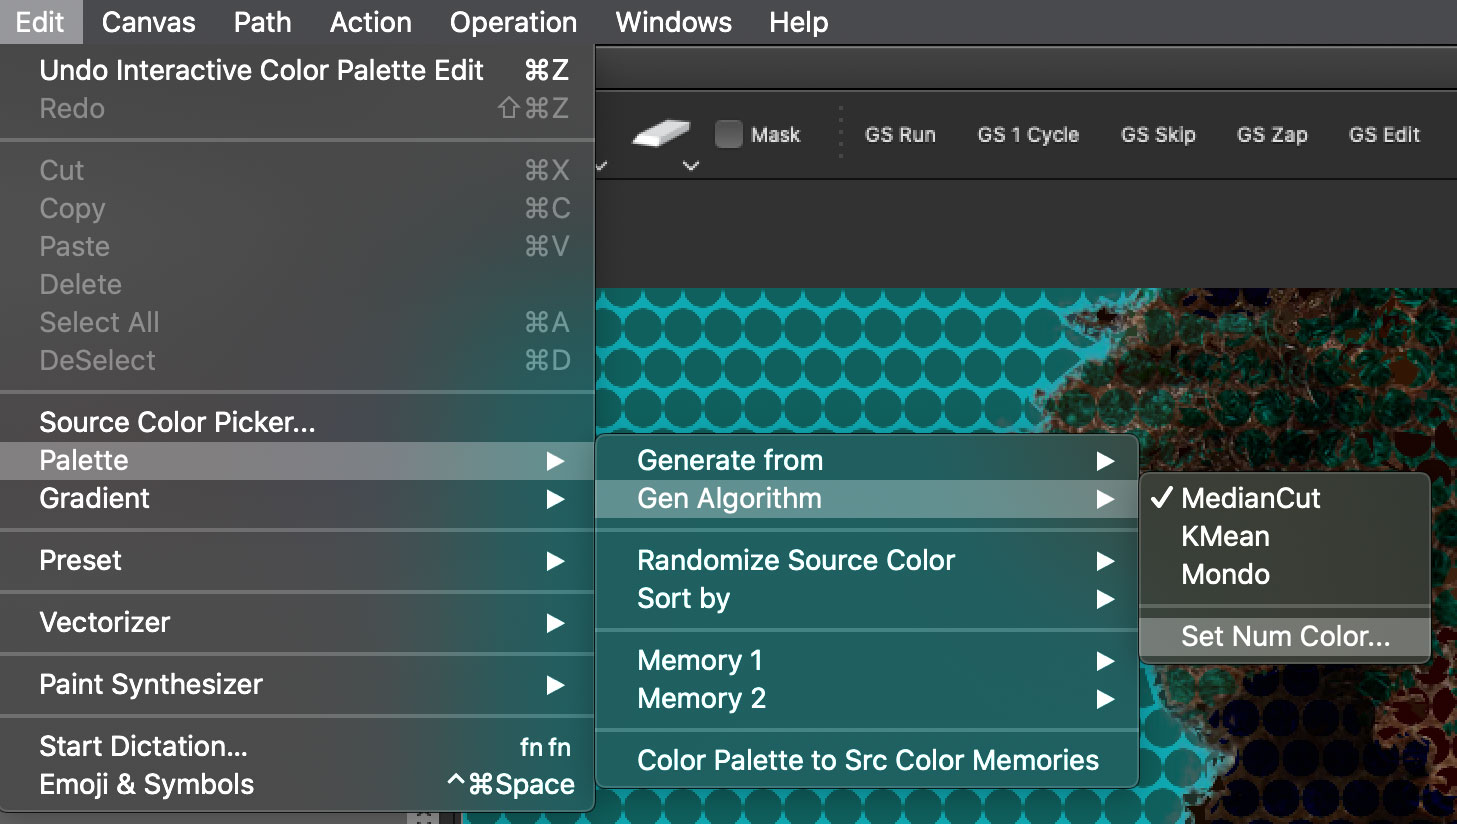
If you decide to choose a Palette of Colors for your color choice (and many of the Studio Artist presets use this option), you can change the Palette Colors in the source area. One fun and easy way to change the colors is to drag an any image into the Palette and it will analyze the colors of the images. You can also change the amount of colors in the color Palette by choosing Edit > Palette > Gen Algorrithm > Set Num of Colors
The Drawing Apply Panel
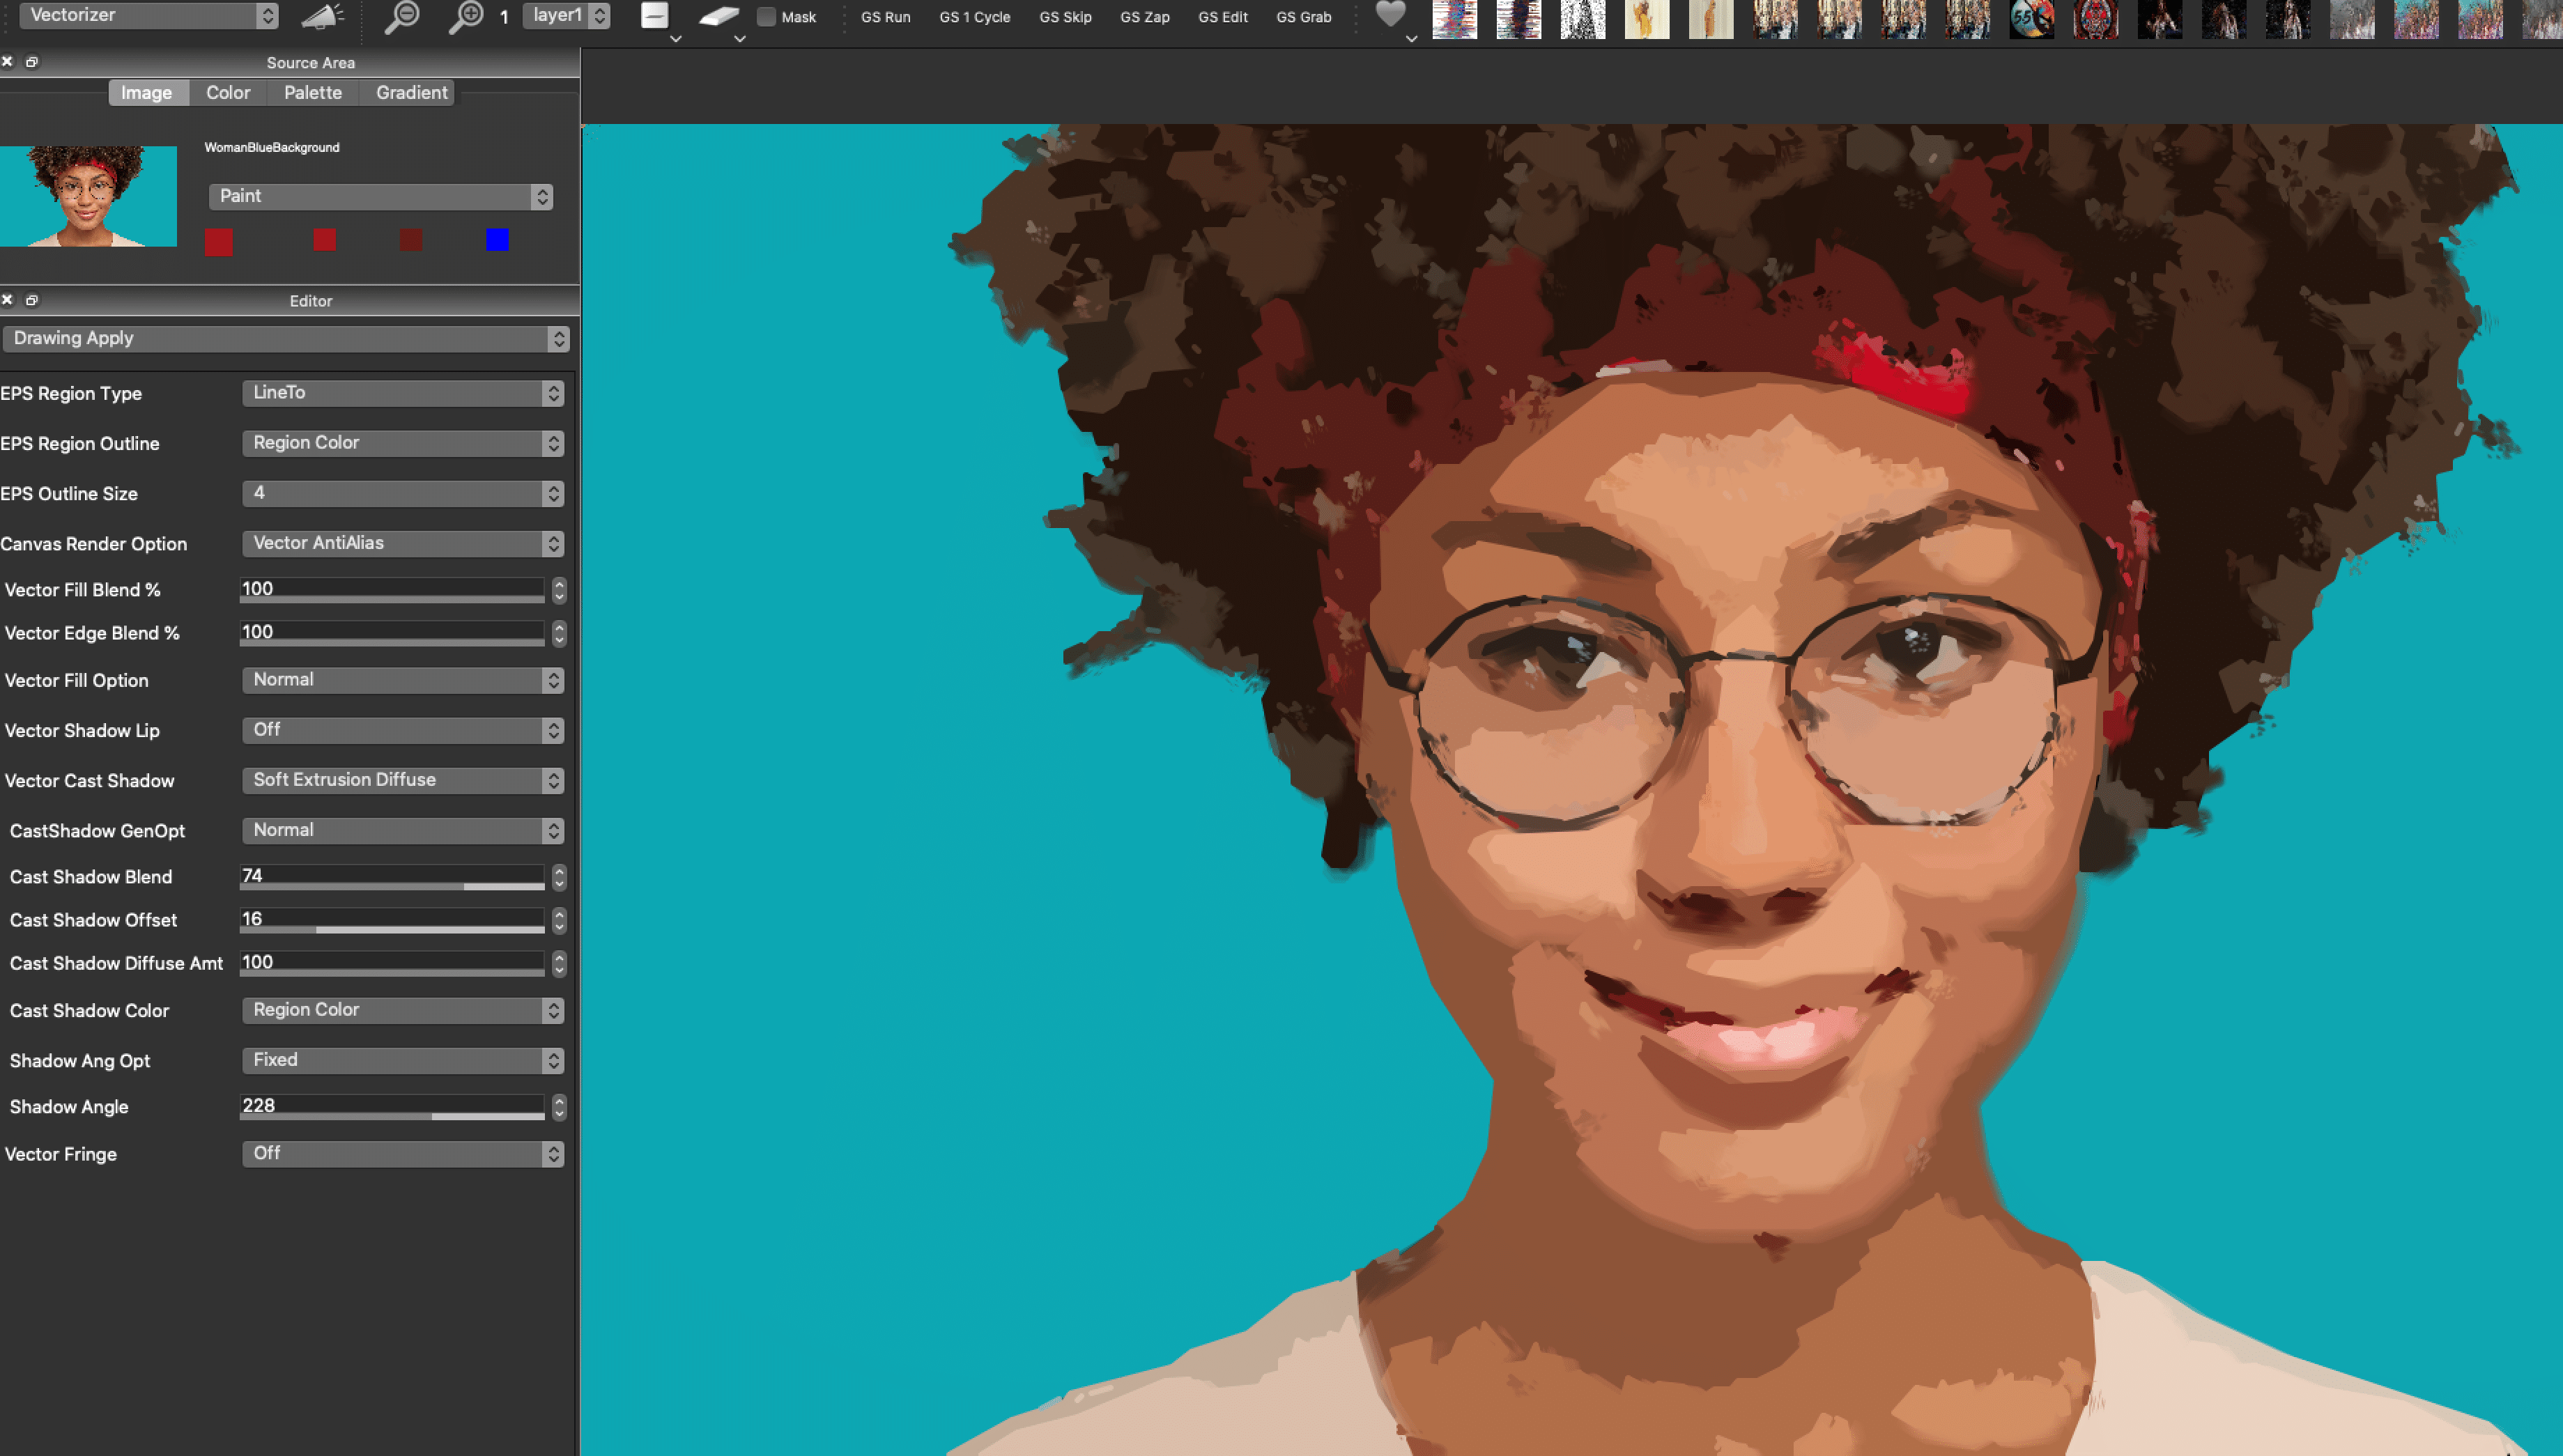
The Drawing Apply Panel is where you apply drop shadows, regions outlines and blending. There is a huge variety of effects you can get with shadowing and blending. This is how Studio Artist creates the Natural Media Vector styles.
The Composting Panel
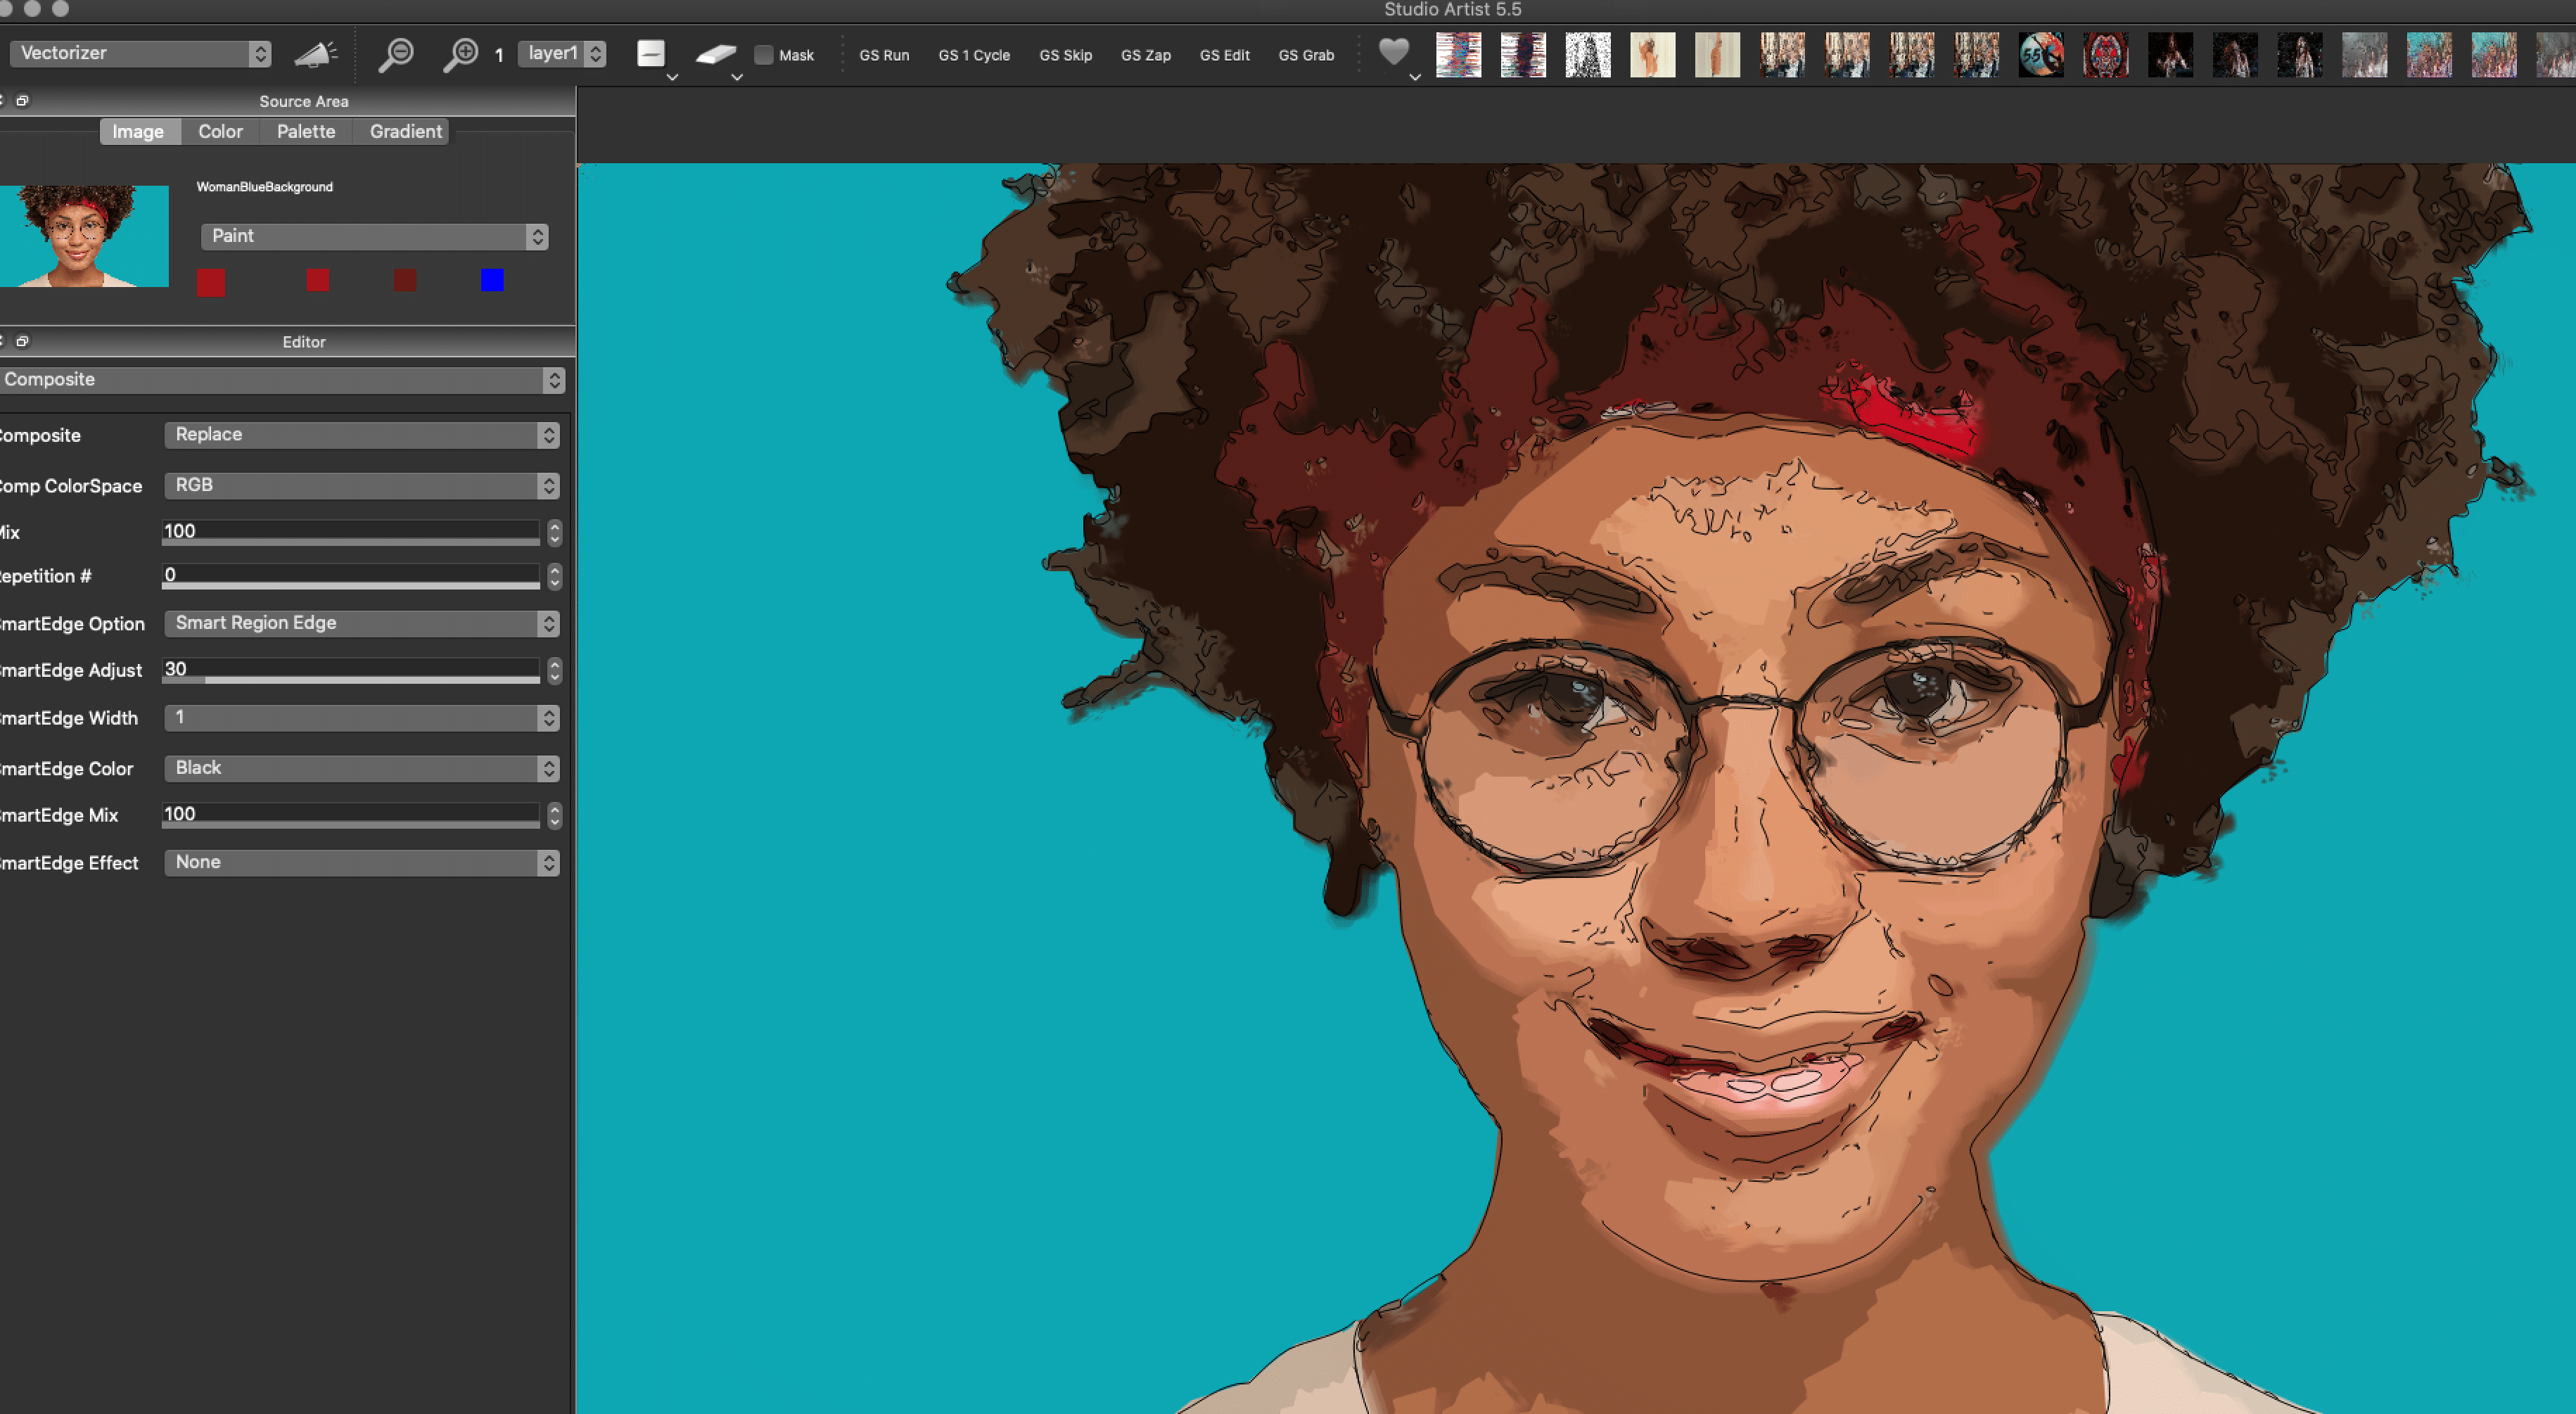
The composite control panel provides the standard Studio Artist compositing, color space, and mix options. These controls specify how the vectorizer output is composited with the existing canvas layer.
You can also add SmartEdge Options here. There are 3 options to choose from and you can choose how much, what color and mix you want to add.
We encourage you to play around with the settings in the Vectorizer Editor.
Outputting an SVG or EPS file with the Vectorizer
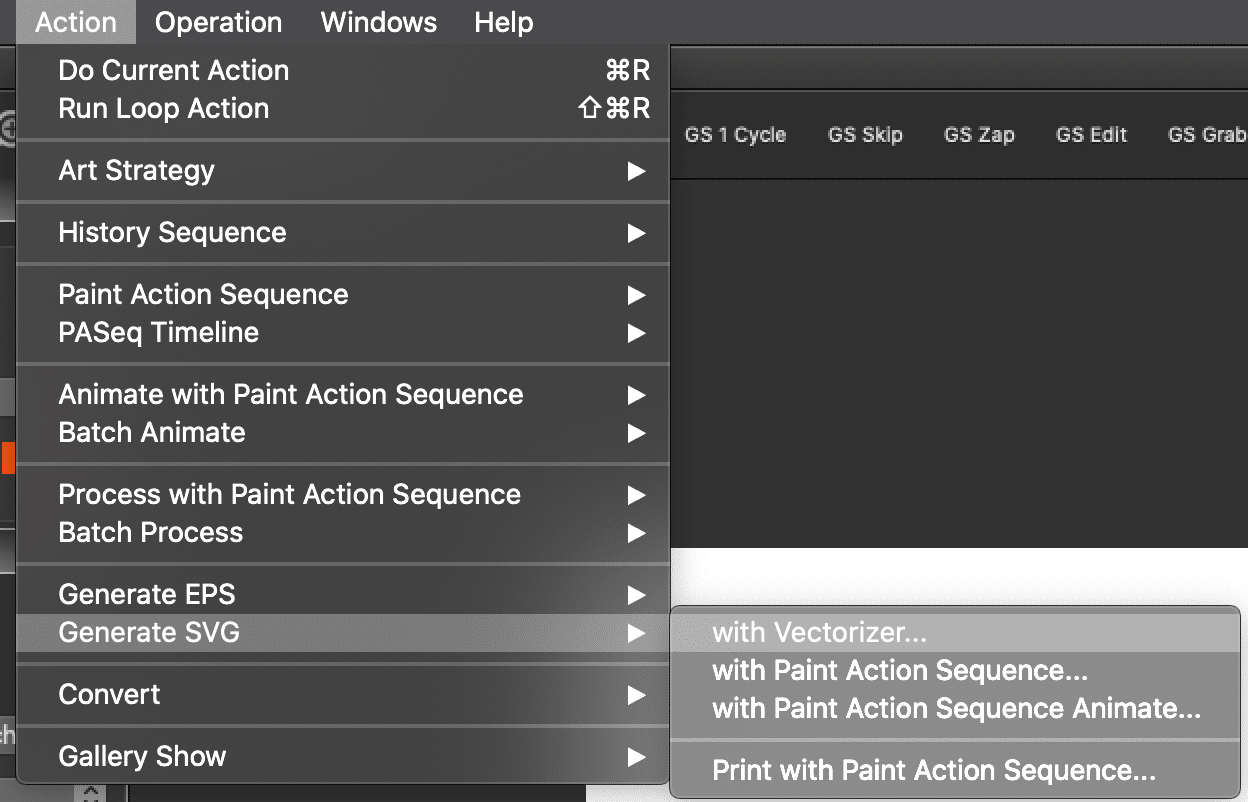
To output an eps file from the vectorizer you would run the ‘Action : Generate EPS ; with Vectorizer’ menu.
WE RECOMMEND USING SVG because it handles the more complex vector paints much better than EPS
SVG or EPS files can also be generated from a Paint Action Sequence (PASeq). Both Vectorizer and Paint Synthesizer action steps can generate eps vectors in a PASeq.
The vectorizer output can be inserted as a rendered raster image into the current canvas layer, as bezier paths into the current layer’s bezier path frame, or output to an external SVG file. We encourage you to use SVG versus EPS because it can handle the complexity of the vector output from Studio Artist much better than EPS.
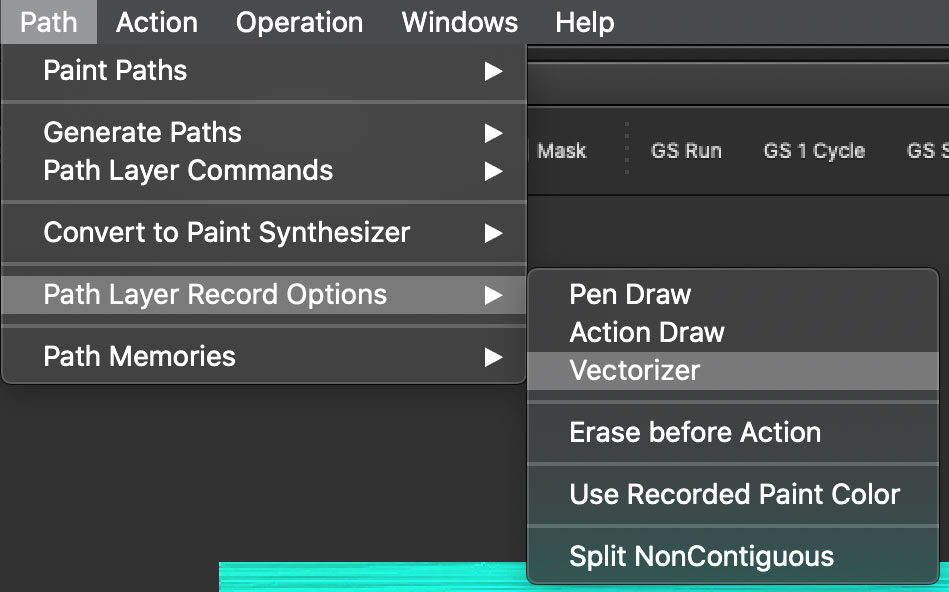
If the ‘Path : Path Layer Record Options : Vectorizer’ menu flag is checked then when you press the Action button the generated bezier vector regions will also be inserted into the current layer’s bezier path frame.

