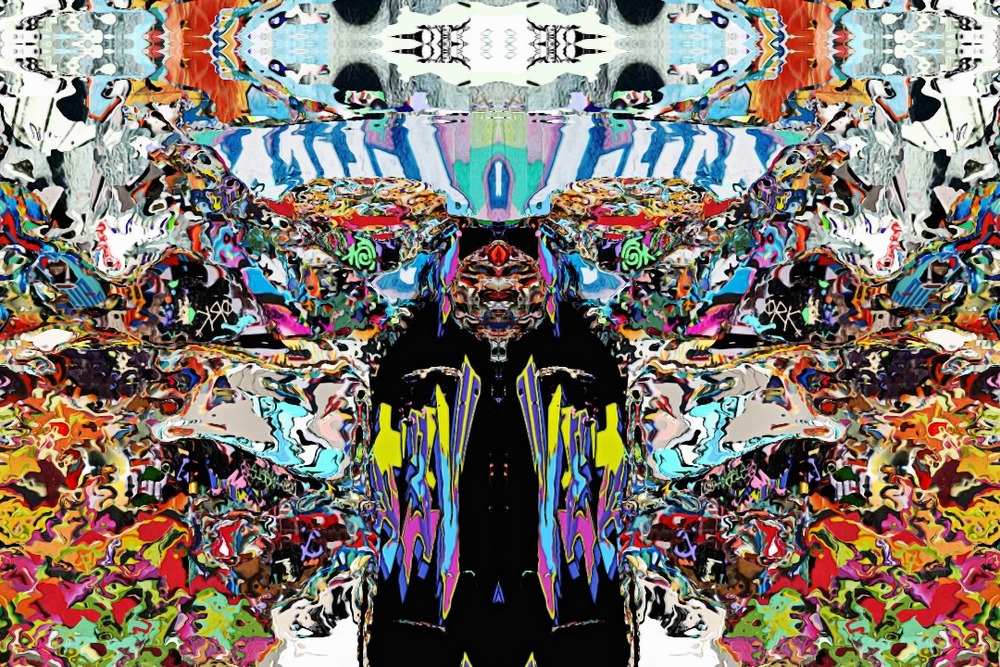
We’ve been talking about different approaches to building symmetry in our recent posts. I wanted to conclude the discussions by taking a look at a piece I recently put together. We’ll take an overview look at how the above image was constructed in this post.
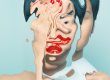
The original source image for this piece came from some news imagery taken during the recent Egyptian protests. I often like to work with topical news imagery in my artwork, and then apply abstraction techniques to severely modify the way it looks.
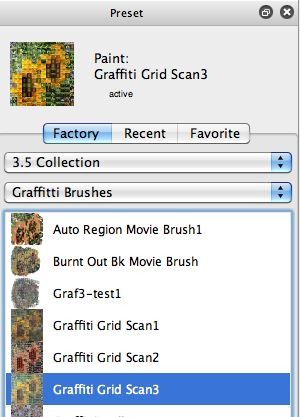
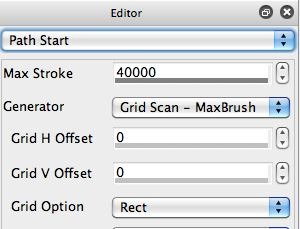
I wanted to work with a movie brush, but rather than using a movie source brush, i’ve recently been doing a lot of exploration of the movie pixel index background texture features of the paint synthesizer. I started with one of the graffiti movie brush presets in the 3.5 Collection : Graffiti Brushes paint preset collection called Graffiti Grid Scan3 (as shown below).
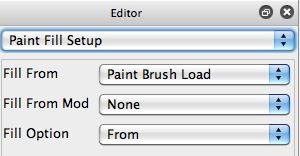
This preset is designed to lay out a grid of paint nibs, where each paint nib is a frame in a movie source brush. The Image Processing Brush Load feature of the paint synthesizer is used to recolorize the movie frames that make up the rectangular paint nibs.
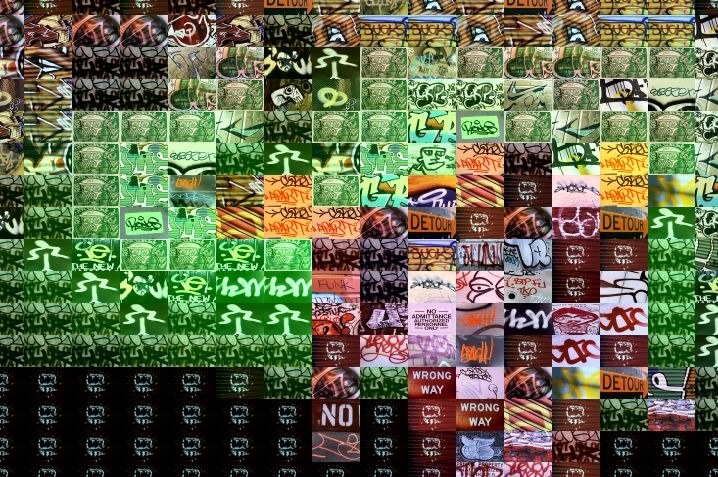
The image gallery above shows off some of the paint synthesizer control panel settings used to build a classic rectangular photo mosaic effect style based on the movie source brush ( a graffiti movie brush in this particular case). The last image in the gallery above shows off what I mean by this kind of photo mosaic effect.
Now we’ve recently discussed another approach to using movie brushes on this effects blog, which is the movie pixel indexed background texture. And I decided I was interested in using this approach for my recent project as opposed to the more conventional movie source brush photo mosaic approach.
So to modify my original Graffiti Grid Scan3 paint preset, I made the following paint synthesizer editing changes shown below.
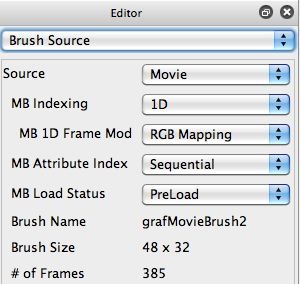
Note that i’m now using my original graffiti movie brush as a movie pixel index background texture. I’m using the same RGB Mapping option for the 1D Frame Mod frame indexing.
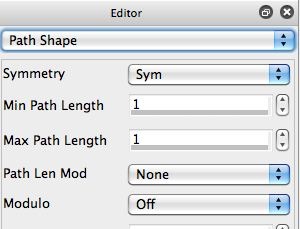
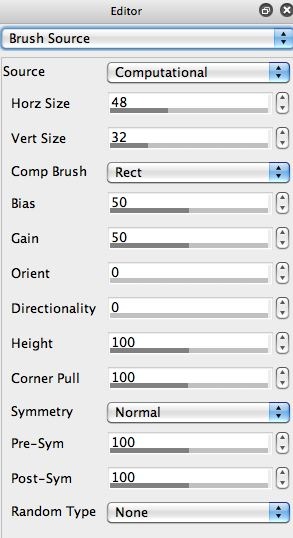
The 2nd gallery image above shows how I modified the Brush Source control panel to be a 48×32 pixel rectangle, which is the frame size of my movie brush. So i’m still using the same path start and path shape control settings to build an identical grid scan as I did in the original preset. But the movie brush is being used in the background texture rather than the source brush, and the frame indexing is pixel indexed as opposed to once per background texture image cache update.
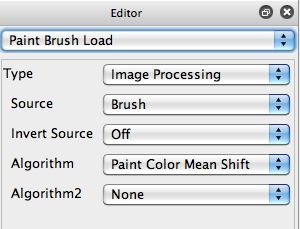
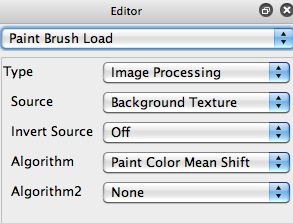
The 3rd gallery image above shows the single modification I made to the Paint Brush Load control panel. I was using the Brush as the Source for the Image Processing Brush Load. I needed to change that to the Background Texture. (since the background texture is where the movie brush is loaded).
The last gallery image above shows the output of my newly edited graffiti brush paint preset. Note that there’s much more source detail generated with this approach. The movie pixel indexing is modulating the movie frame index for each pixel of the background texture, so rather than single movie frame blocks you get fine detail modulation. But it’d also visually more noisy because of that.
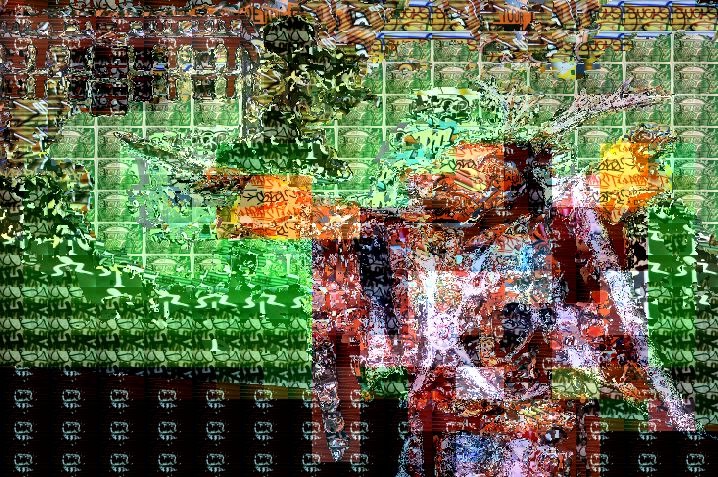
The first image below shows my original experiment doing these paint synthesizer editing modifications with my Egyptian protest image and the original graffiti brush whihch is 48×32 pixels.
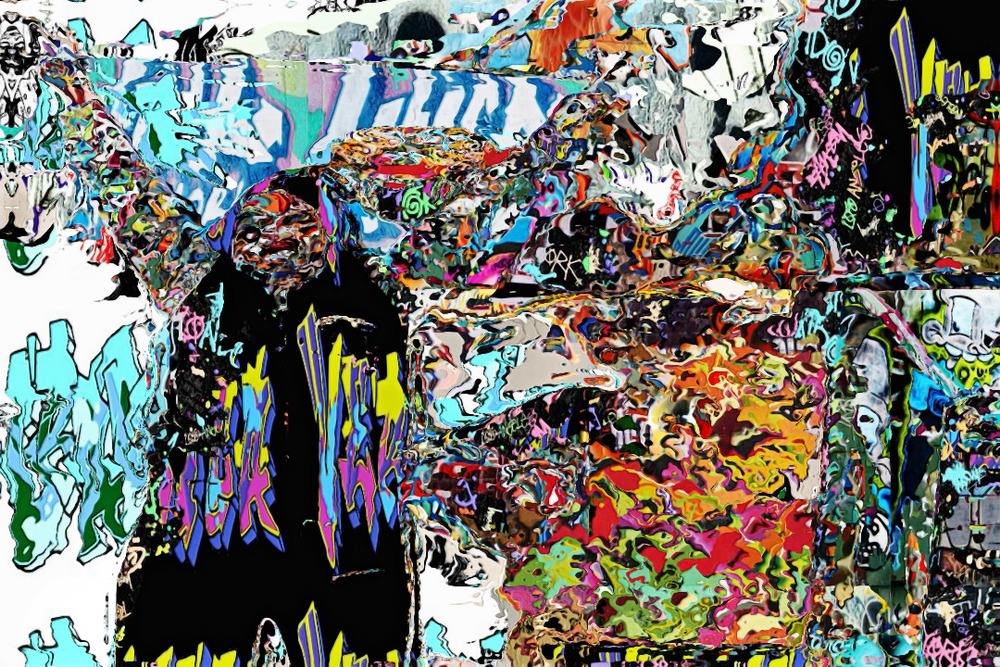
I thought the graffiti movie brush frame size was way too small for the effect I was looking for. So I switched to a different graffiti movie brush (created using graffiti images I shot in an alley in Melbourne), which has a frame size of 320×320 pixels. I also increased the canvas size I was working with. These 2 changes, using a different movie brush for my pixel indexed background texture (with a much larger frame size), and using a slightly bigger canvas size, lead to the second gallery image shown above.
Note the change in the 2 images is pretty dramatic. I’ve really been liking working with really large frame sizes for movie pixel indexed background texture photo mosaic effects. It has a very different feel than some other movie brush techniques i’ve played with, as you can see above.
To create the final image shown at the top of the post, which incorporates visual symmetry, I used the Translate interactive warp techniques discussed in yesterday’s post.
So there’s a look behind the scenes at how I approached putting together a particular piece of artwork. I started with some topical imagery and a pre-existing paint preset, then hand edited it to modify the kind of visual effect it created. I then combined that new visual effect with some hand interactive warp manipulation to build some visual symmetry into the final piece, shown at the top of the post..