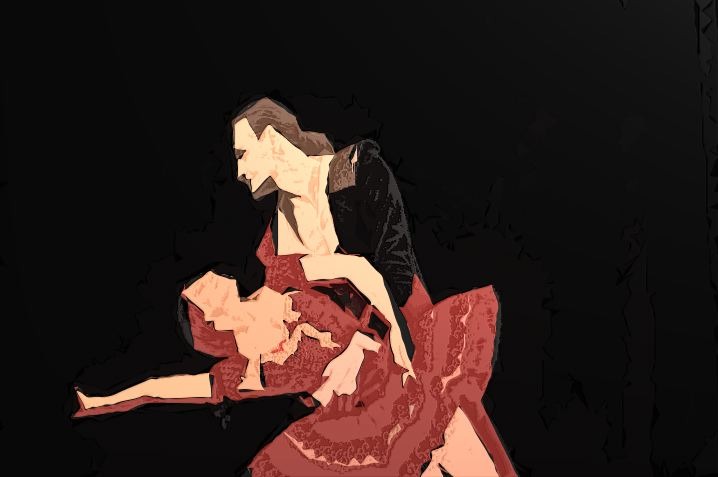
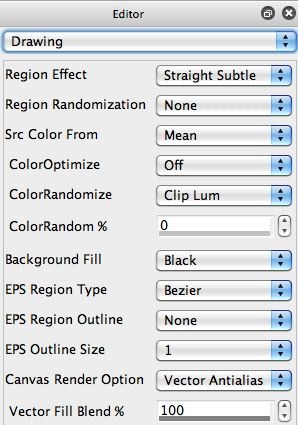
This post details a simple paint action sequence (PASeq) I was playing around with to generate a stylized cartoon effect for some movie processing. The Smart Contrast image operation is used to help add some additional source feature detail into the stylized vector cartoon effect.
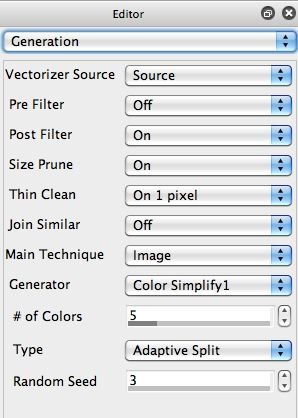
The simple 4 step PASeq used to build this particular effect is shown below.
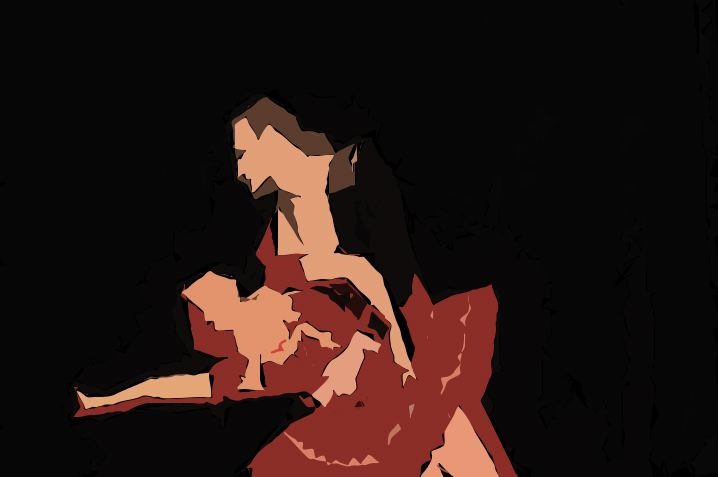
The output from the initial Vectorizer action step is shown in the second image in the top gallery. Note that fine feature detail is missing from the stylized vector cartoon output.
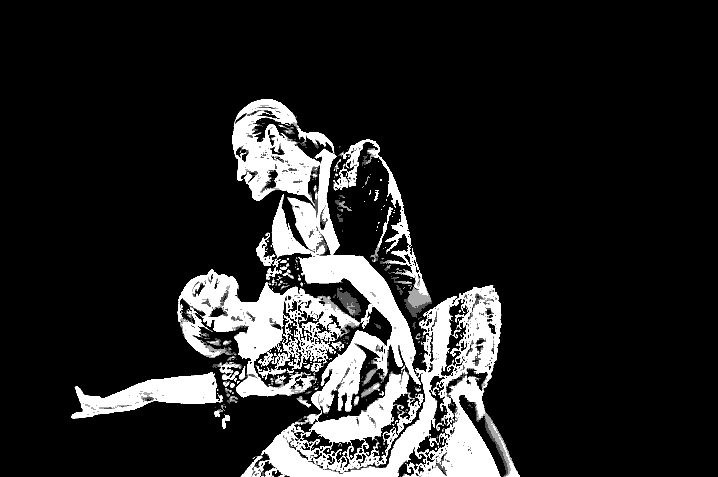
The third gallery image shows the output of the Smart Contrast ip op effect. This image shows a Mix setting of 100%, so you see the full black and white output. For the PASeq I used a Mix of 10%, which gave the output seen in the last image in the gallery.
Note that unlike many of my previous posts, i’m using Replace compositing as opposed to Min compositing when working with the Smart Contrast ip op effect. I did this because I wanted to lighten up the cartoon regions slightly, and I wanted all 3 levels of gray in the effect output to be apart of the final image. You could use Min compositing if you wanted to just insert black features into the colored regions without changing their color.
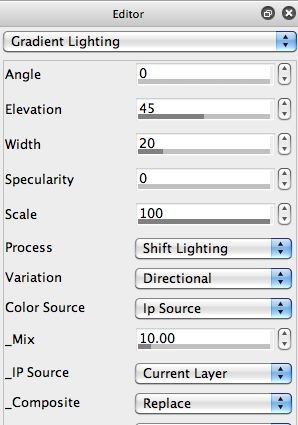
The Gradient Lighting action step adds a small amount of 3D lighting to give a slight relief effect to the canvas. Again, I used a relatively small Mix setting so that a small amount of lighting effect was added.
The Image Compressor ip op was then used to slightly boost the contrast of the effect, resulting in a somewhat lighter set of foreground region coloring. I used a Local Adaption setting of 2 for a modest contrast boost without any artifacts.

