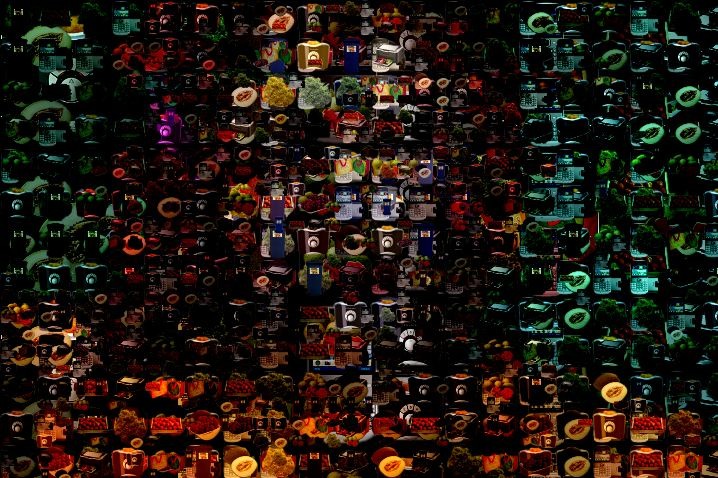
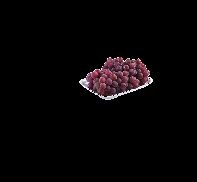
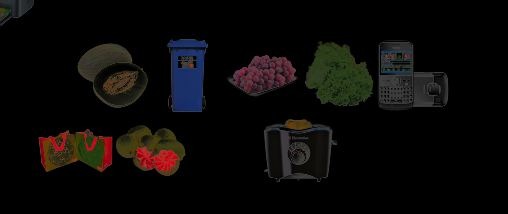
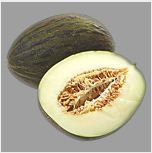
Today’s post will discuss how to work with creating photo mosaic effects based on movie brushes that contain a series of non-rectangular shapes or objects on flat colored backgrounds. The images above show how I created a movie brush effect using the actual shapes of the objects for the individual brush nibs, as opposed to using rectangular nibs.
I’m trying to put together this post to help answer a user’s recent question. They were trying to work with non-rectangular shapes using a movie brush to create a photo mosaic effect, and they were getting white fringing outlines being drawn at the edges of the individual shapes they were trying to paint from the movie brush.
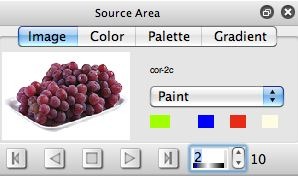
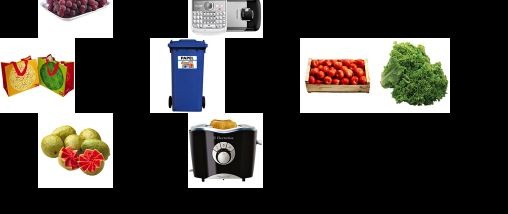
The image gallery below contains a few frames from their example movie brush. Note how the individual frames of the movie brush contain individual objects placed on a solid white (255,255,255) background.
The movie brush did contain an embedded alpha channel, but it was a full on solid white rectangle for each frame. So basically the alpha channel just says the entire frame image is visible, as opposed to containing a set of individual selection masks for each of the individual objects in the movie frames.
How is a Paint Nib Generated from the Source Brush
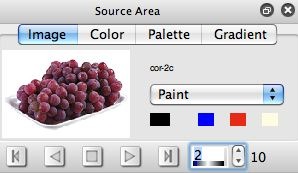
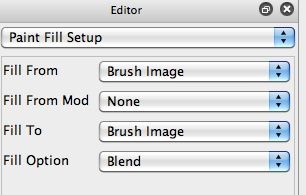
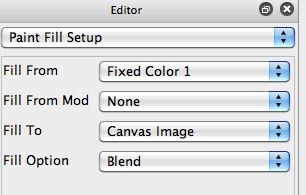
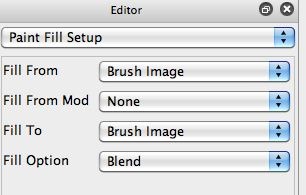
The Studio Artist paint synthesizer’s Source Brush is typically used to build a paint nib. The paint nib is based on 2 different components, based on the Fill From and Fill To settings in the Paint Fill Setup control panel. The normal Source Brush works as follows. Any solid white pixels in the source brush (255), define that part of the source brush as masked out (no painting takes place there). Any solid black pixels in the source brush (0) are set 100% to the Fill From signal. Any almost white (254) pixels in the source brush are set 100% to the Fill To signal. Any intermediate gray tones in the source brush define an appropriate mix between the Fill From and Fill To signals. This assumes you are working with the Blend setting for the Fill Option parameter in this control panel. Other Fill Option settings would mix the 2 signals differently, or have entirely different paint nib generation behavior.
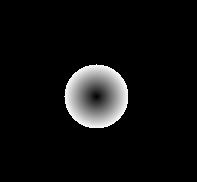
The image gallery below was designed to help you visualize how this works. The first image in the gallery shows off what the actual Source Brush (which is 64×64 pixels looks like). I used a Source Alpha Brush setting for the Brush Type with the Source Brush’s alpha channel set to full on to generate this paint nib of the complete Source Brush image. All of these other examples below use the normal Source Brush setting for the Brush Type parameter, so the internal masking build into this particular Source Brush image will be taken into consideration when a paint nib is generated and then painted onto the canvas.
The other images in the gallery show off different Fill From-Fill To combinations and the resulting single paint nib they generated painted onto the canvas. The 2nd and 3rd gallery images show off using the Fill From and Fill To parameters set to the Brush Image. Note that you see the circular shape of the brush, since it’s an image of a sphere on a solid white background, and the solid white background will act as a mask when generating the paint nib.
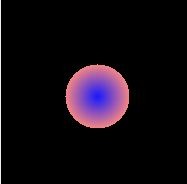
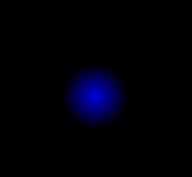
The 4th and 5th gallery images show off Fill From set to a blue color, and Fill To set to a red color. The 6th and 7th gallery images show off Fill Form set to a blue color, and Fill To set to the canvas (which generates an anti-aliased circular blue paint nib.
The 8th gallery image shows off one frame from the movie brush we discussed above, which contains a set of non-rectangular shaped objects on a solid white background. The 9th and 10th gallery images show off using the Fill From and Fill To parameters both set to the Brush Image.
Note that there’s a white fringe at the edges of the movie brush object being drawn as the paint nib. What you are seeing there are the very light pixels at the edges of the object (pixels almost the color of the background due to anti-aliasing in how the original object was drawn on the white background). So these pixels don’t mask out, but since they are almost the same color as the white background int he movie frame they show up as a white fringe around the object being drawn as the paint nib.
Getting Rid of the White Fringe Around a Non-Rectangular Shape When Using a Movie Brush
So now I hope you understand the cause of the white fringing seen with the movie brush paint preset discussed above. So how can we fix the problem? There are 2 different approaches.
We could modify the movie brush so that the edges of the individual objects are hard edges (no anti-aliasing at their edges). That way the object will draw as a complete paint nib without any white fringing at its edges, since it’s edges are solid color that directly hard transition into the solid white background that acts to define a mask in a normal source brush when it is used to generate a paint nib.
The second approach is to build a variation of the movie brush that contains an embedded alpha channel. We want each individual frames’s alpha channel to contain a mask of the object. So the interior of the object will be solid white (full on alpha), and the white background of the movie frame will be defined as solid black (full off alpha). We also need to insure that the alpha mask is generated in a way that reduces or eliminates the white fringe seen when just the movie frame is used as the source brush (so we want it to mask out light colored edges of the objects where the object edge blends into the white backing).
We then use a Brush Type parameter set to Source Alpha Brush. So the paint nib will be generated using the source brush’s alpha channel (as opposed to it’s RGB image channels). We can then use the Paint Fill Setup control panel settings described above, where the Fill From parameter is set to the Brush Image, and the Fill To parameter is set to the Canvas Image. That way the source brush’s alpha channel can define a paint nib that paints the object while still generating a smooth anti-aliased edge to the paint nib without any white fringing.
The 4 examples above show off 4 different approaches to generating a paint nib from a series of non-rectangular shaped objects on white backgrounds in a movie brush.
The first one uses Fill From and Fill To set to the Brush Image, and a Source Brush setting for the Brush Type. Note the white fringe effect at the edge of the objects we would like to try to eliminate.
The 2nd example shows changing the Fill To parameter to the Canvas Image setting. Note that the white fringe is now gone, but the gray scale values of the objects are being used to determine the Fill From-Fill To mix, so the objects appear washed out.
The 3rd example uses Fill From and Fill To set to the Brush Image, and a Source Alpha Brush setting for the Brush Type. Since i’m using the original movie brush discussed for this example, which has a solid white rectangle for it’s internal embedded alpha channel for each movie frame, we end up seeing the entire movie frame (including the complete white frame background) for the generated paint nib.
The 4th example again shows changing the Fill To parameter to the Canvas Image setting. And we’re using a Source Alpha Brush setting for the Brush Type. But we switched our movie source brush to use a modified movie file that contains an embedded alpha channel that correctly masks each individual object. Note that the white fringing is gone, and we get the complete object drawn at each individual paint nib.
Building an Embedded Alpha Channel for a Movie Brush that Masks Objects on a Solid Color Background.
The approach I took to build my modified movie file that contained an embedded alpha channel that masked the individual objects is shown in the PASeq below.
I started by loading the original movie brush as the source movie, and setting the canvas size to be the same size as the source movie. I then erased the canvas to the source.
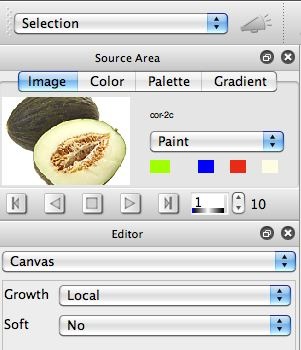
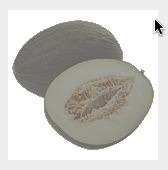
I then used the Local Growth Option for the Canvas interactive Selection (2nd gallery image above). Note that I moused down near the edge of the canvas in the white background (an area that is white in each individual movie frame, and then pulled the cursor slightly to the right to select the white background and pull the selection a little bit into the interior of the object edges as well (3rd gallery image).
I used local rather than global growth for generating the selection because I did not want to select any light areas in the interior of the objects.
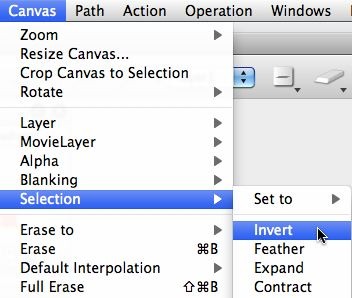
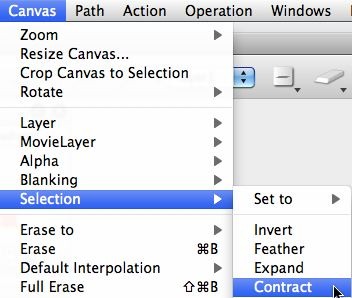
I then inverted the selection (4th gallery image). I then ran 2 different application of selection Contraction (5th gallery image). Both inversion and contraction of the current selection are Canvas : Selection menu commands as shown. Contracting the selection makes it slightly smaller. So inverting the selection made the original manually selected exterior of the objects invert into a selection mask for the object in the frame. And contracting the selection helped get rifd of the white fringe issue at the edges of the objects, since we shrinking the object selection outline to get rid of those pixels.
I then ran the Action : Process with Paint Action Sequence : Source to Movie menu comamnd to process the original movie brush movie file loaded in the source area into a new movie brush with an embedded alpha channel containing object masks.
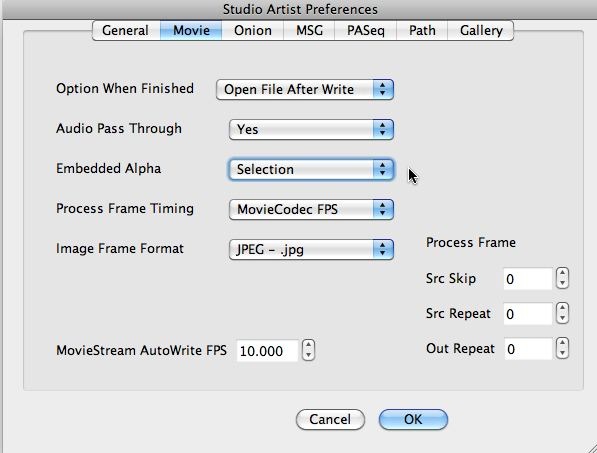
Before I ran that command, I went to the movie preferences dialog (6th gallery image above), and made sure the Embedded Alpha movie preference was set to the Selection option. Doing so means that the embedded alpha channel for each frame will be whatever is in the current selection buffer when the PASeq renders out a finsihed output movie frame. Don’t forget this set of this procedure is not going to work properly, since we’re building a mask in the selection buffer we want to be the embedded alpha channel for each frame.
I also made sure I was using an output movie coded that supports an embedded alpha channel. I used the animation codec with the Millions of Colors + Depth option (as shown in the 7th gallery image above). Not all movie codecs support embedded alpha channels.
At this point I had a new movie brush file that I could load into my original movie brush paint synthesizer preset. I could then use the Source Alpha Brush option for the Brush Type, as discussed above to generate my movie brush paint nibs. So the shape and Fill From-Fill To blend of the paint nib is defined by the movie brush’s embedded alpha channel, while the Fill From parameter is set to the Brush Image so that the individual objects in the movie brush draw without any white fringing. And Fill To is set to the Canvas Image so the edges of the embedded alpha channel will blend to the existing canvas at the edges of the object paint nibs.
I hope the detailed explanation above gives you some insight into why white fringes were originally seen with this particular movie brush and the paint synthesizer settings that were used to draw with it. And the approach we took to eliminate the white fringing effects. Also, I hope the explanation gives you a better understanding into how the Source Brush (be it computational or image or movie source brush) interacts with the Paint Fill Setup control panel settings to define a paint nib for painting.


