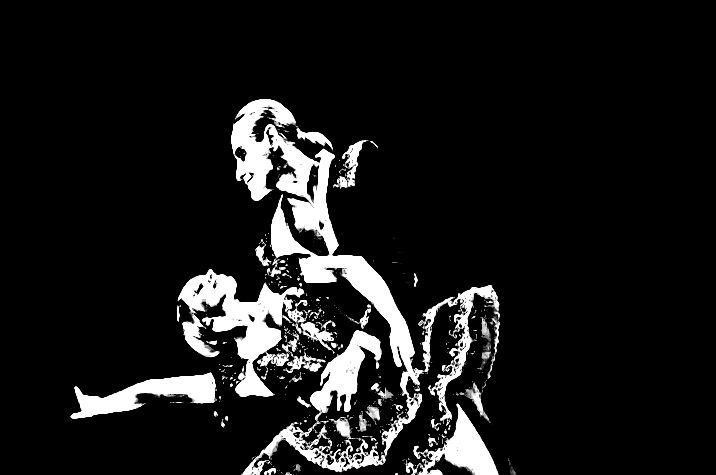
The following images shows a black and white noire effect. Like the previous post, I created this particular effect for movie processing. This post will detail how the effect was created, and how it differs from a conventional thresholding effect.
The simple 4 step paint action sequence (PASeq) below was used to create the black and white noire film effect.
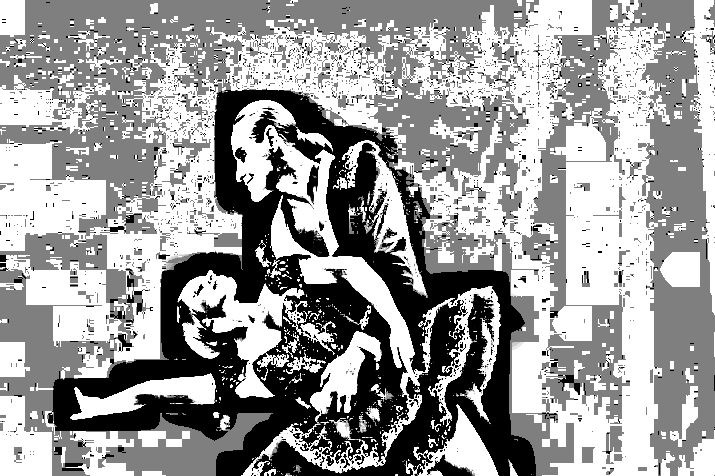
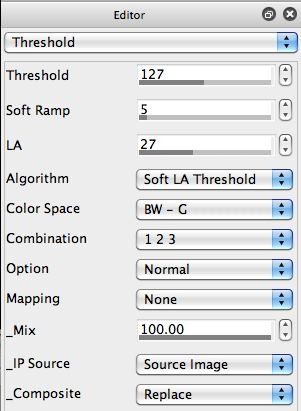
The output from the first Threshold ip op action step is shown in the second image in the gallery at the top. I’m using a soft locally adaptive thresholding algorithm. The slight soft ramp avoids hard aliased edges, and the local adaptivity creates rich feature detail in the interior of the figures (fixed thresholding cannot create this level of feature detail). However, the flat color dark background becomes very noisy due to the adaptive thresholding. So we need to clean that up.
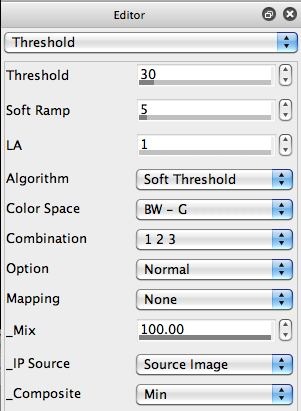
The 2 screen snaps below show the Threshold image operation settings for the first and second action steps in the PASeq.
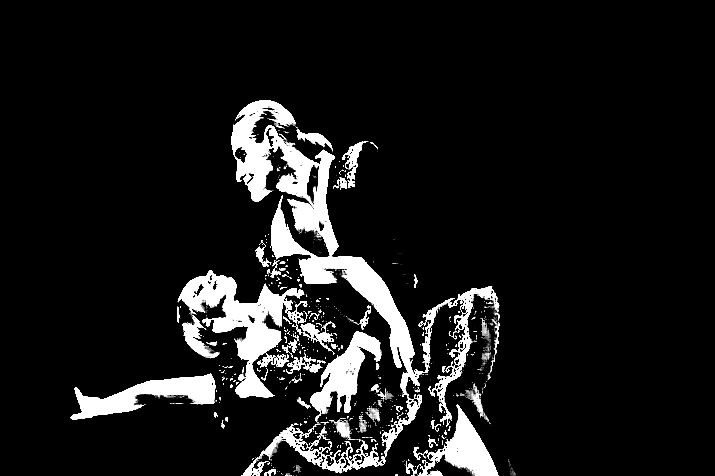
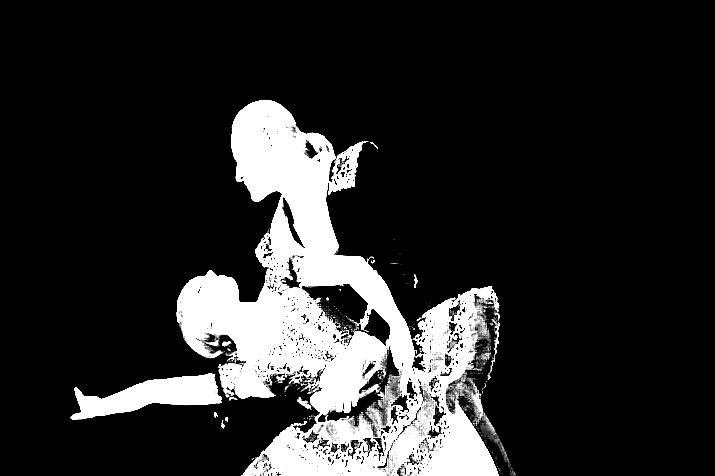
The second Threshold action step is used to fill in the black background. Note that Min compositing and a low Threshold setting of 30 is used with a Soft Threshold Algorithm to overlay a black background. The third image in the gallery at the top shows the canvas after running this second action step. The last image in the gallery shows the output of this step if Replace compositing was used, so this shows the real output of the second thresholding step.
The Smart Blur action step is used to slightly smooth the thresholded edges. Note that I often use the Smart Blur ip op with these settings to smooth rough canvas edges.
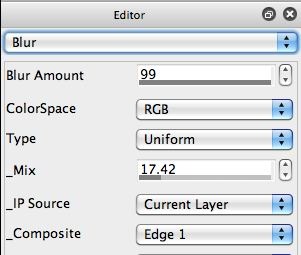
The Blur action step is using the Edge1 composite option, so it’s actually a sharpening step. I used a Blur Amount of 99, so the effect is more of a contrast boost as opposed to a fine edge enhancement you would get with a lower Blur Amount setting.

