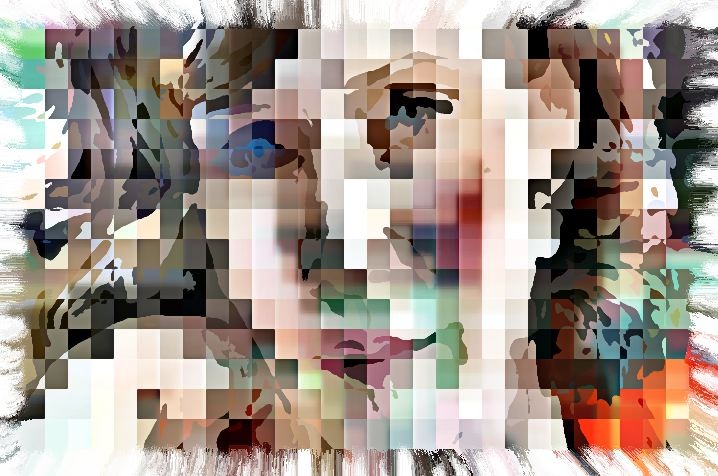
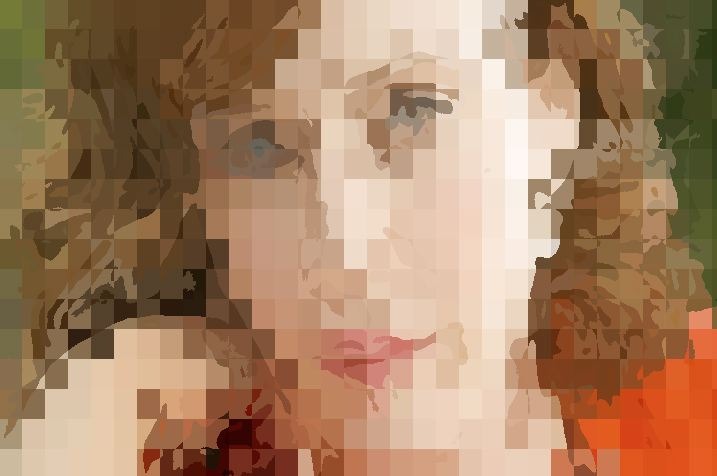
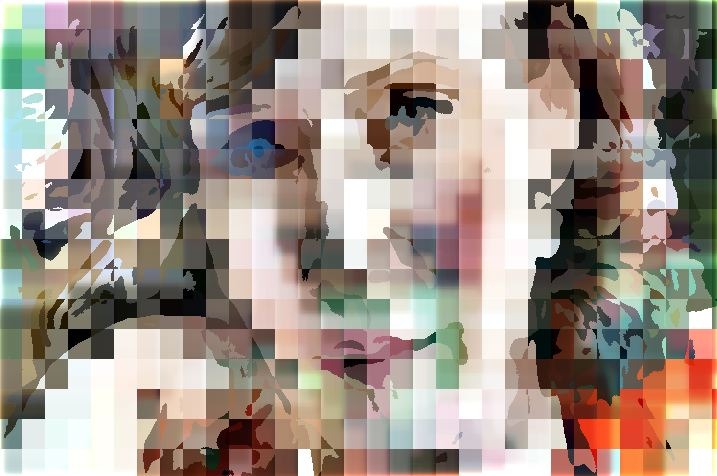
Recently on the Studio Artist User Forum there’s been a number of user art posts that showcase various blocky abstraction effects. This post details a different approach you can use to build this kind of effect style, as shown above. The idea is to build a stylized blocky abstraction of the source image that also preserves source edge and detail features.
Please Note: There are a lot of Block Effect presets in Image Operations > Blocks
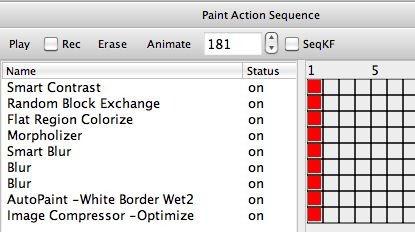
The paint action sequence (PASeq) below shows the action steps used to build the above effect.
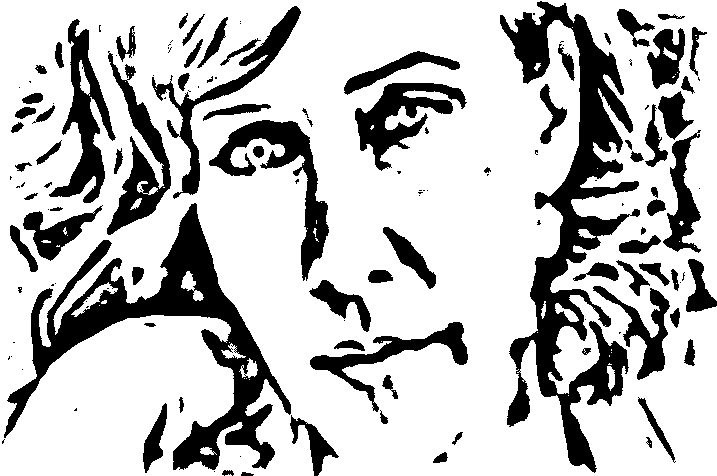
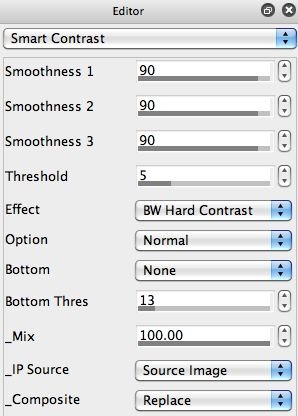
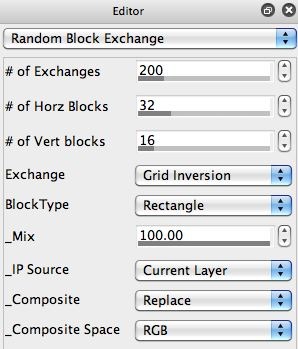
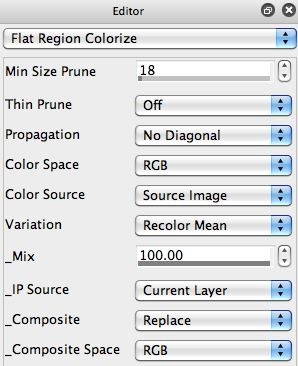
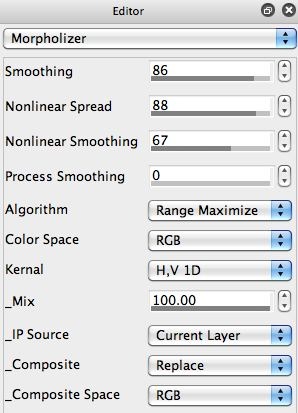
The image gallery below shows the output of the first 4 action steps used to build the stylized abstraction effect. The image operation Editor control panels for these 4 action steps are shown in the image gallery after their canvas output images.
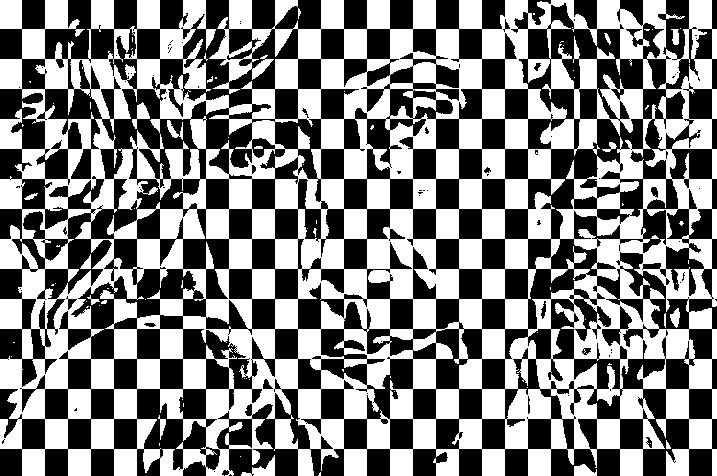
The first image in the gallery shows the output of the Smart Contrast ip op action step. This effect is used to build a black and white feature rendition of the source image. A key to how this particular effect is built is to generate a hard contrast black and white canvas composed of small regions that will then be colorized in the 3rd Flat Region Colorize action step.
After generating a hard contrast black and white feature map of the source image, we now want to introduce the blocky part of the abstraction. To do this we used the Random Block Exchange ip op. Note that we’re using a Grid Inversion option for the Exchange parameter. Note that this effect breaks the image up into a series of small rectangular blocks and then inverts every other block to create a grid pattern. The existing feature map abstraction is also inverted in individual blocks.
Now that we have a series of black and white blocky local regions that also incorporate the source feature details, we can re-color all of the individual small regions based on the original source colors. To do this we can use the Flat Region Colorize ip op in the 3rd action step.
Note that I set the Propagation control to the No Diagonal option. I did this to insure that the adjacent rectangular blocks would not merge, but would be used by the effect as separate flat color regions that are colored in with the original source colors. The Variation control can be used to change what the effect generates for each local flat color region. We’re using the Recolor Mean option, which tries to color the local regions to match the original source coloring.
It’s important that the input to the Flat Color Regionize ip op actually be a canvas image composed of a series of flat color regions. If you input a continuous tone smoothly shaded or natural source image into this ip op effect, it’s not going to work properly since each individual pixel in the input image would be considered it’s own region.
I wanted to also introduce some gradient coloring effects into the overall abstraction. So I used a trick described previously on this site, that involves using the Morpholizer ip op to take a flat color rendition and introduce smooth shading gradients into the region coloring.
The final series of action steps in the PASeq used to generate the effect are cleanup and enhancement steps. The Smart Blur ip op is used to smooth out some hard edges introduced by the original Smart Contrast action step. We needed to wait until after we ran the Flat Region Colorize action step to smooth out the hard edges. Remember, the Flat Region Colorize ip op wants to have hard edged flat color areas as it’s input, as discussed above.
The 2 Blur ip op action steps are sharpen steps, since they use the Edge1 composite option in the Blur ip op effect to turn it from a blur into an edge sharpening effect. The AutoPaint action step was used to add the wet white border effect to the stylized abstraction.

