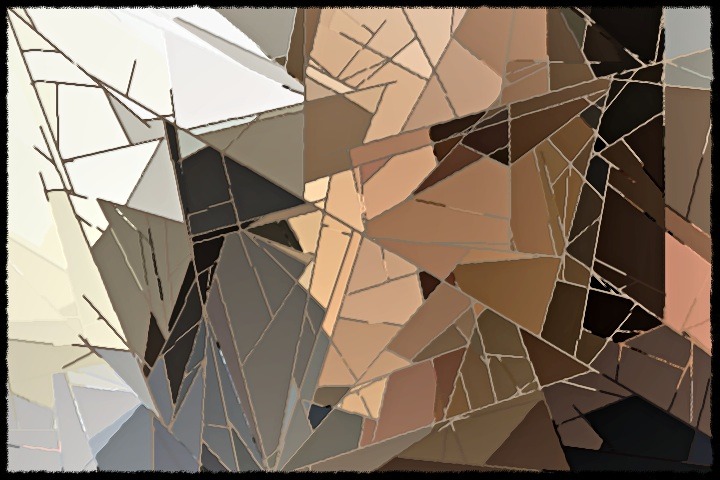
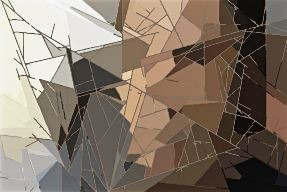
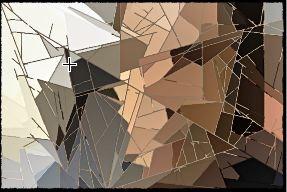
It’s easy to generate various kinds of automatic cubist paint effects in Studio Artist. Here’s a quick example I tossed together this morning. The effect starts with a digital source image, and then automatically processes it with a paint action sequence (PASeq for short) to quickly generate the cubist abstraction effect. You can think of a PASeq as an intelligent processing script that incorporates different Studio Artist paint or image processing effects to build up a particular artistic style.
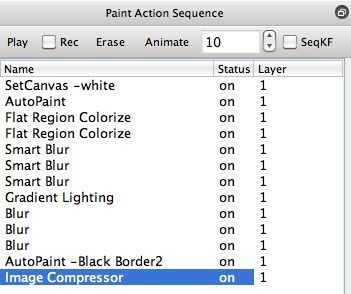
A screenshot of the PASeq I used for this particular effect is shown below. Each action step in the list is a different paint tool or processing step. PASeq action steps play back from the top of the list to the bottom in order. You can use them to process still images or to process movie files.
This PASeq works as follows:
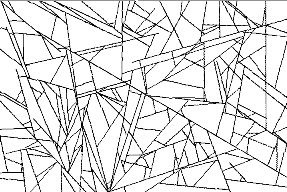
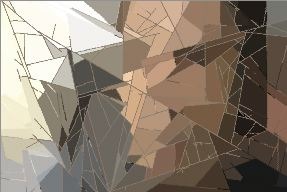
The canvas is first erased to full white. An AutoPaint step is then used to draw in a series of black paint lines to build a set of cubist outline shapes. The Flat Region Colorizer image operation (Ip Op) is then used to auto fill the painted in shape outlines with solid color. Additional Ip Op steps are used to smooth, enhance, and add lighting to the colorized image. A second AutoPaint step is used to add a border effect. And the Image Compressor Ip Op provides a final intelligent contrast boost. The 4 screenshots below show the progression of the effect as the PASeq does it’s magic.
Most of the cubist effect is defined in the first 3 action steps in the PASeq. Everything else is really polishing to provide subtler enhancement to the effect. I often use different series of Studio Artist Ip Ops after generating a particular paint effect to subtly enhance and add lighting to the initial effect. It’s my personal approach to polishing an effected image before saving it to disc as a finished piece.
There’s always many different ways to approach any particular stylistic effect in Studio Artist. Using the Vectorizer would be a different approach to generating this kind of effect. A potential advantage to using the Vectorizer is that you could output your cubist image as an eps or svg file if you wished, which would allow for resolution independent printing. The effect shown in this particular post example above is a raster effect, so the final output is a raster image.
An example of a vectorizer effect is shown below. The Studio Artist vectorizer is capable of a wide range of different stylistic effects. It works by converting a raster image into a vector representation, and has different controls that can be used to adjust the aesthetic look of the vector conversion process.

