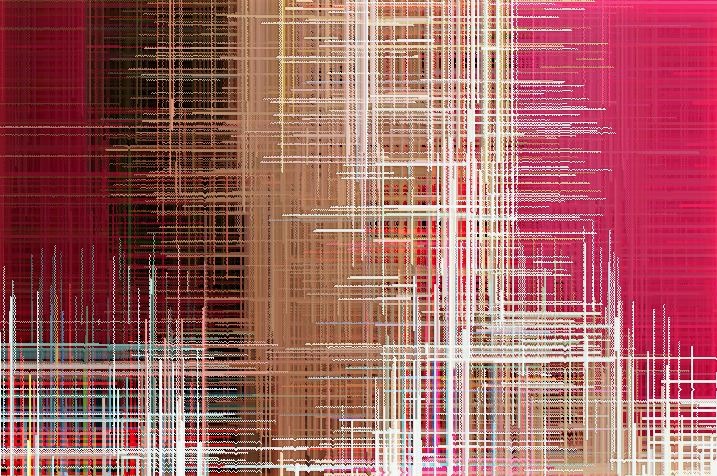
This post details the individual steps used in a simple paint action sequence (PASeq) that generates a thread weaving effect. The approach I took might not be what you would originally expect. Rather than building a paint synthesizer preset that emulates threads being horizontally or vertically woven into a tapestry, I used some clever image processing tricks to generate my thready woven tapestry visual effect.
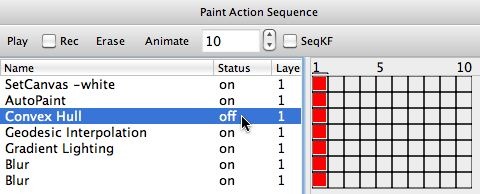
The PASeq used to generate this effect is shown below. It starts off by erasing the canvas to white.
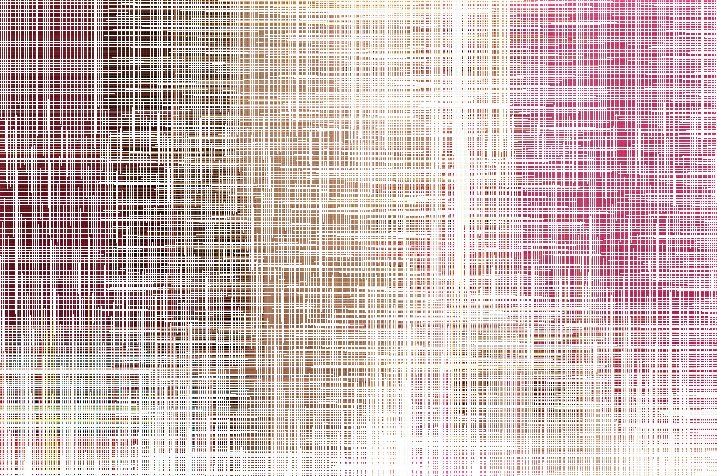
A single AutoPaint action step is then used to paint a small number of colored pixel colored dots. I did this by using a paint synthesizer brush size of 1 pixel and a path length of 1. The results of the AutoPaint action step can be seen in the second image in the gallery at the top of the post.
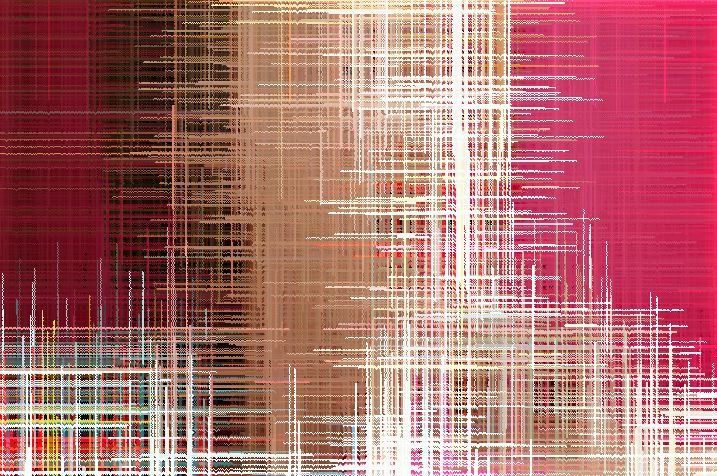
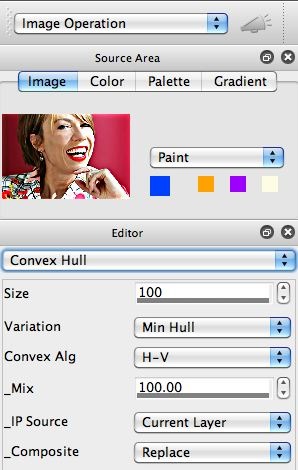
I then used the Convex Hull image operation to process my colored dot canvas. I used a fairly large Size setting of 100 pixels and a Min Hull Variation. The results of the Convex Hull action step can be seen in the third image in the gallery at the top of the post.
I then used the Geodesic Interpolation image operation to fill the remaining white space in the canvas. This ip op works by extrapolating the existing non background color pixels into the background color areas of the canvas (background color = white in this case). The results of the Geodesic Interpolationl action step can be seen in the third image in the gallery at the top of the post.
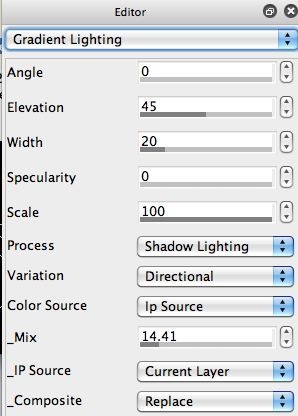
The remaining PASeq action steps are just some fine tuning enhancement steps. I used the Gradient LIghting ip op to provide a slight amount of 3D lighting to the canvas. This helps to make the tapestry effect seem more realistic by giving the impression of a textured fabric surface.
Note that I used a fairly small Mix setting of 14%. A little bit of gradient lighting goes a long ways.
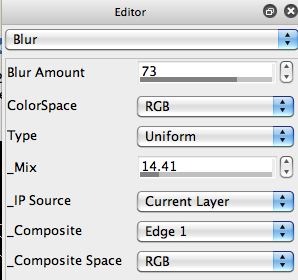
The last 2 Blur action steps are using the Edge1 Composite setting in the Blur image operation, so they act as canvas sharpening effects.
I used 2 different Blur Amount settings for the 2 Blur action steps to sharpen at 2 different spatial frequencies. A Blur Amount setting of 73 acts to sharpen fine edges, while a Blur Amount setting of 99 acts as a contrast booster.
It’s interesting to turn off the Convex Hull action step and see the difference this makes in the resulting visual effect. You can do this by turning the Status control for that action step from On to Off as shown below.
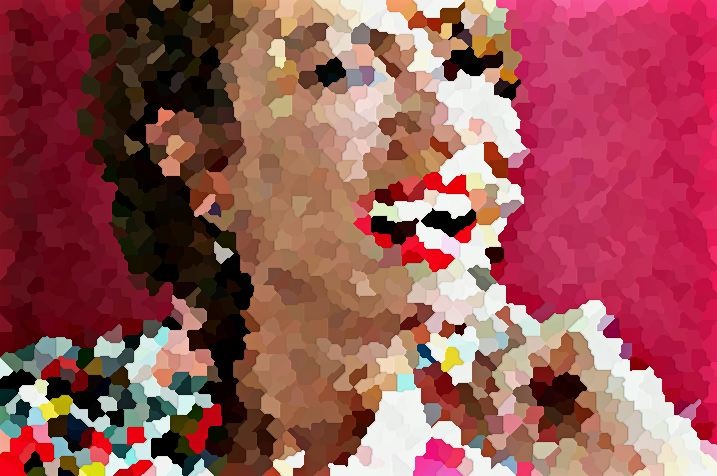
The second image in this last gallery shows the result of running the PASeq with the Convex Hull action step turned off. Note that the tapestry effect is now gone and something that looks more like an irregular tiling effect is created.

