Studio Artist’s various operation modes that generate visual effects all contain standardized generic Compositing controls that can be used to subtly or radically change the nature of a given effect. This post will show how to use the Edge1 option for the generic Composite control in an image processing effect to convert an effect that blurs the canvas into an effect that sharpens the canvas.
Yesterday’s post detailed how to work with Min (short for minimum) compositing to build an effect. The post covered how you could use Min compositing via the generic composite controls available with an image processing effect while working with a single layer, or use min compositing while working with 2 layers to build the same kind of effect.
This post continues our look at different Composite options by checking out the Edge1 composite option. The Edge1 composite option can be used to convert any kind of effect that blurs or spatially distends an image into a sharpening or edge enhancing effect.
Blur Ip Op
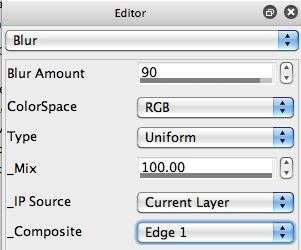
The Blur image operation (Ip Op) effect is relatively straight forward and simple. The Blur Amount control is used to adjust the amount of blur. Increasing the Blur Amount increases the spatial extent of the blur effect, decreasing the Blur Amount decreases the spatial extent of the blur effect. Note that adjusting the spatial extent of the blur effect is different than adjusting the Mix control, which will mix in some of the existing canvas to the effect output, making the effect more subtle.
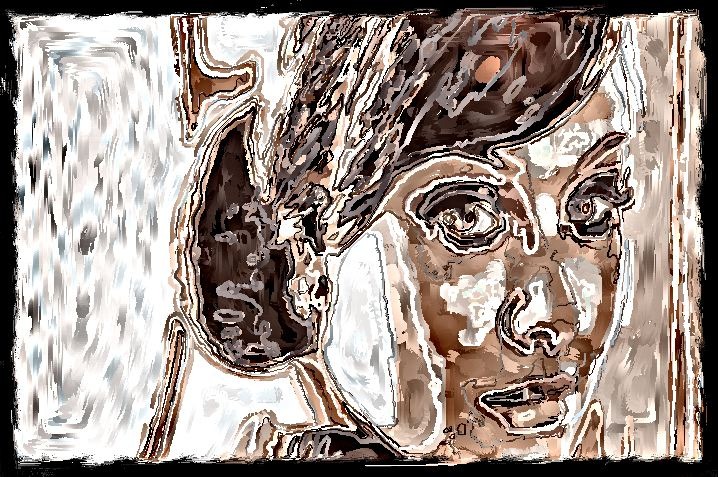
Changing the Blur Ip Op Composite setting from Replace to Edge1 dramatically changes the Blur effect. Now rather than blurring the canvas, it actually sharpens the canvas. The Blur Amount control now also acts differently. It lets you dial in the spatial frequency range that the sharpening occurs in. So decreasing the Blur Amount control lets you sharpen tighter edge details, while increasing it sharpens broader features with greater spatial extent in the overall image. Increasing it all the way to 99 turns the sharpen effect into a contrast enhancement effect.
Cutting back the Mix control when using Edge1 compositing to sharpen an image can be useful, since too much sharpening can quickly lead to a clipped and noisy image. A little bit of sharpening goes a long way.
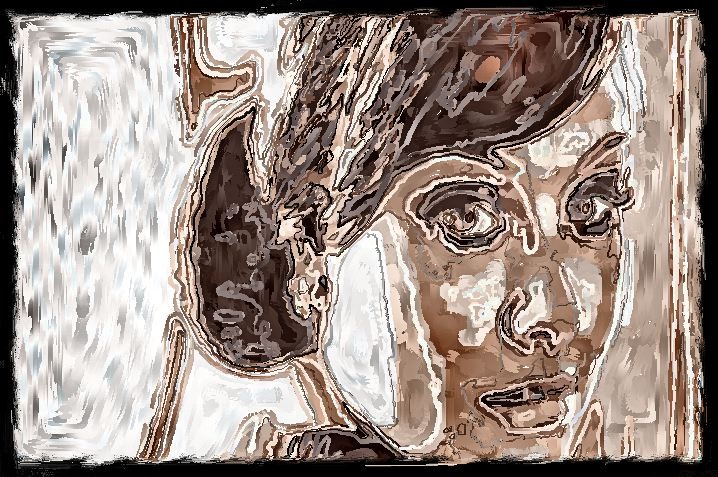
I also oftentimes use a succession of different Blur Amount settings (70 – 80 – 90 for example) with a Mix of 14% to do multi-resolution sharpening. I save this set of successive sharpening steps for the end of a project to help boost the edges and overall contrast of a painting.
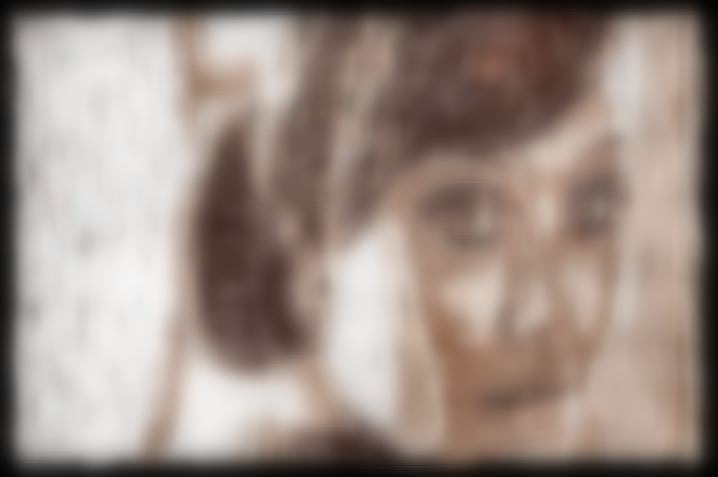
The processing examples below show off what we’ve been talking about in this post. I started with a painted canvas, which is the first image. The second image shows using the Blur Ip Op with Replace compositing. The third image shows using the Blur Ip Op with Edge1 compositing. Note how a blur effect has been changed to an edge effect when the Composite setting was changed from Replace to Edge1. The 4th image shows a more subtle use of sharpening, with a low Mix setting (14%) and several sharpening passes where the Blur Amount setting was changed from 70 to 80 to 90 for the 3 successive sharpening passes. Switch back and forth between the 1st image to the 4th image in the gallery to see the effect of the ‘subtle’ multi-pass enhancement used in the 4th image.


